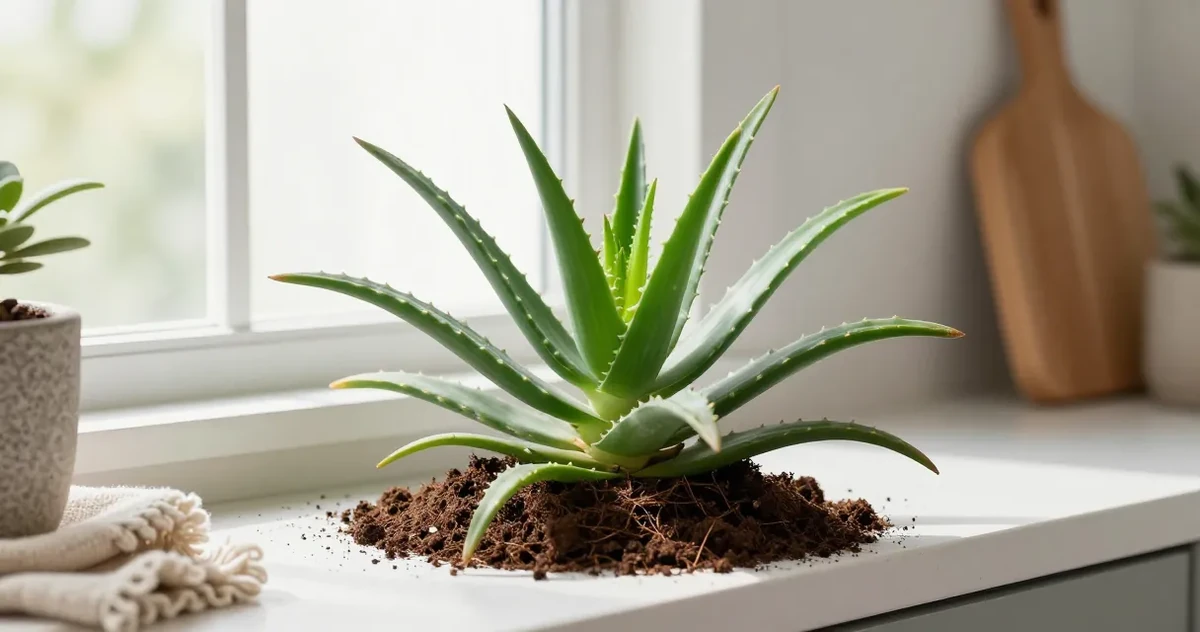
If your aloe has been sitting in standard potting mix, there is a good chance the soil is working against her. You might have even used something labeled “cactus mix” from the garden center. That is a fine starting point, but here is the thing: not all cactus mixes are the same, and the recipe that works in a bright, dry room will keep the roots too wet in a dimmer one. Get the soil wrong, and all the good intentions in the world will not stop rot from quietly starting below the surface.
This guide will help you understand what aloe actually needs from her growing medium, how to dial in a recipe for your specific situation, and what to do if you suspect the soil is already causing trouble.
Identification Snapshot
Use this guide when your plant matches the basic aloe profile: thick water-storing leaves, a rosette or cluster growth habit, a gel-filled interior when a leaf is cut, and roots that want a full dry-down between waterings. If the plant behaves more like a thirsty foliage plant than a succulent, the soil advice needs to change with it.
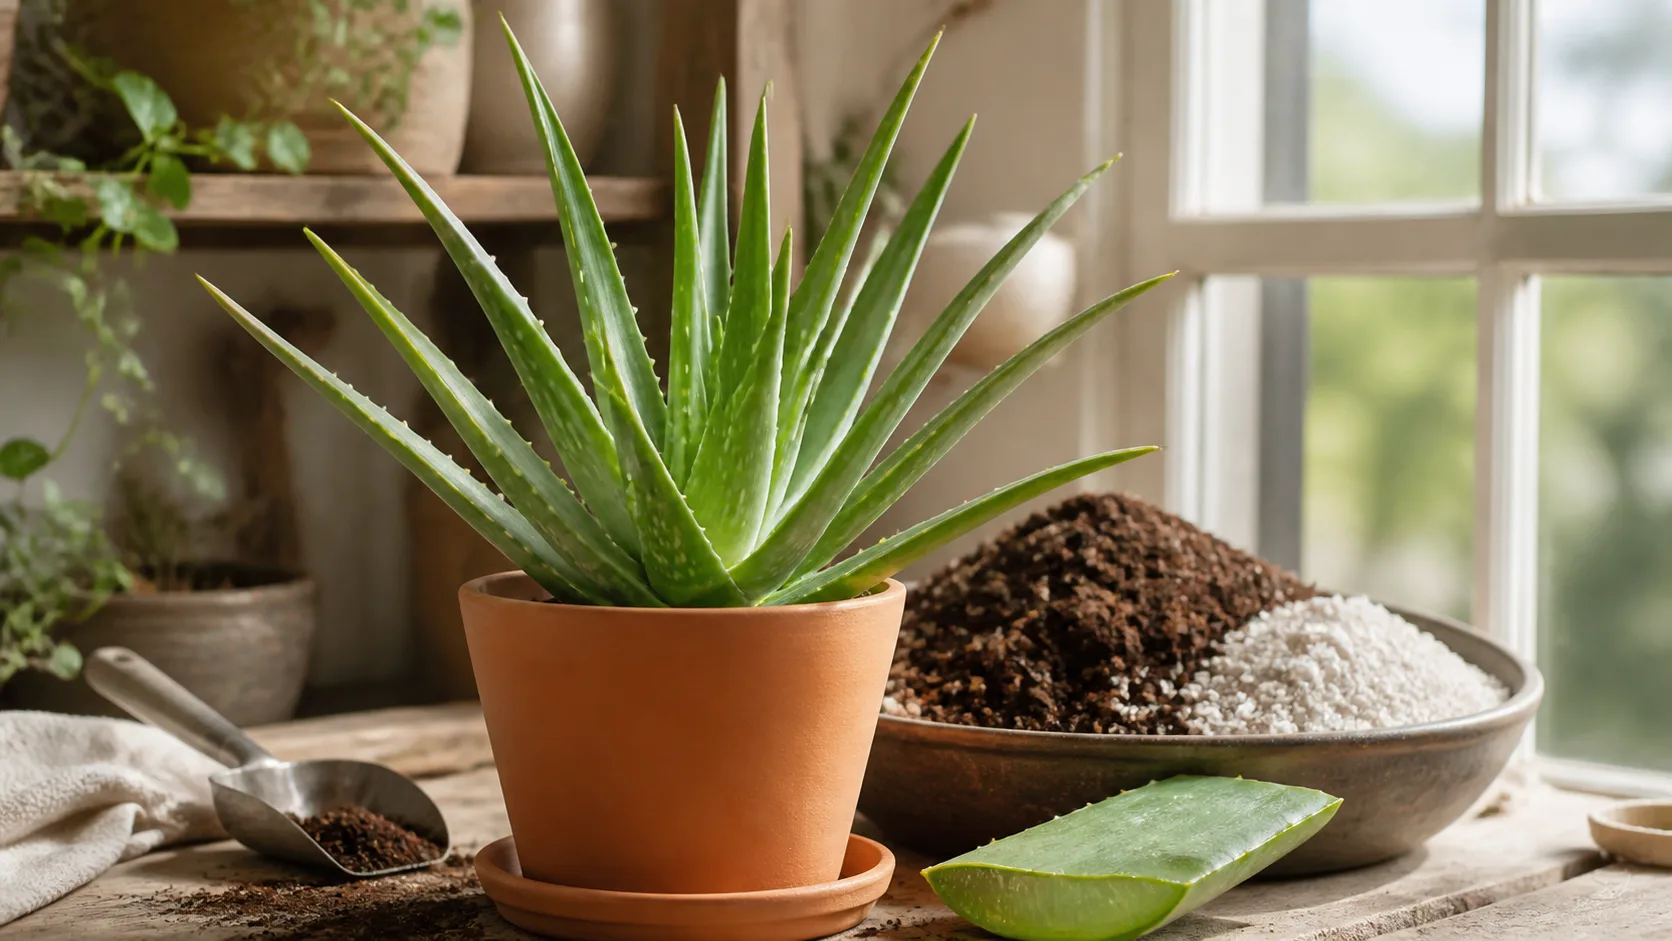
Thick, gel-filled leaves, a rosette habit, and a fast-drying mineral mix distinguish aloe from thirstier foliage plants.
Not sure what plant you are caring for?
Open KnowYourPlant, snap a photo, and get the plant name plus care notes matched to the species in front of you.
Identify your plantLookalikes and Confused-With Cases
Plants sold beside aloe often share the same drought-tolerant shelf but not the exact same rhythm. If your plant has strongly patterned leaves, unusually rigid spines, or a very different stacked leaf shape, confirm the ID before copying the exact same ratio. The fast-draining principle still holds, but the pot size, light tolerance, and watering interval can shift enough to matter.
Want a care schedule you do not have to remember?
KnowYourPlant sends watering, feeding, repotting, and seasonal reminders based on the plants you actually own.
Get care remindersWhat Aloe Soil Actually Needs to Do
Aloe vera is a succulent. She stores water in her thick leaves and draws on those reserves between waterings. Her roots are built to drink deeply and then dry out completely. They are not designed for soil that holds moisture for days on end.
A good aloe soil does three things:
- Drains fast - water moves through the root zone within minutes, not hours
- Dries out completely between waterings, with no persistent dampness in the center of the pot
- Holds the plant upright without compacting over time
Standard houseplant potting mix does none of these reliably. It is designed to retain moisture for plants that want consistent hydration. For aloe, that retention is the problem, not the solution.
The University of New Hampshire Extension advises that aloe grown in containers should be repotted into a well-drained medium - specifically a cactus or succulent potting mix with added coarse sand or grit - and that drainage holes in the container are not optional. The New York Botanical Garden Research Guide on aloe houseplants echoes this, noting that drainage is the single most important factor in any aloe soil setup, regardless of whether you use a commercial cactus blend, a peat-and-sand mix, or a homemade grit-heavy formula.
Save this plant plan before you forget the details.
Keep the plant, diagnosis notes, reminders, and care changes in KnowYourPlant so the next decision is based on your actual plant history.
Open KnowYourPlantWhat Most Care Guides Miss
Most guides say “use cactus mix” and move on. That advice is not wrong, but it is incomplete in a way that catches a lot of aloe owners off guard.
The common misdiagnosis: “My soil is fine, I used cactus mix.”
Here is what generic advice leaves out: commercial cactus mixes are not all the same. Open two bags from different brands side by side and you will notice something immediately: one is light and almost sandy, the other is dark, heavier, and clumps when you squeeze it. The heavier one has more organic material - peat or coir - which holds moisture significantly longer. In a bright, south-facing window where you water carefully, either might perform fine. In a darker room, a humid climate, or with a more generous watering hand, the heavier mix will stay wet long enough to invite rot.
The practical first check is not the label on the bag. It is what the mix actually does when you pour water through it. Set your aloe’s pot in the sink, pour water slowly until it flows freely from the drainage hole, then watch the clock. If water continues draining freely within two minutes, the mix is working. If water takes five minutes or longer to pass through, the organic content is too high for your conditions.
That two-minute drain check is more useful than any recipe because it tells you how the mix is performing in your specific pot, under your conditions, right now.
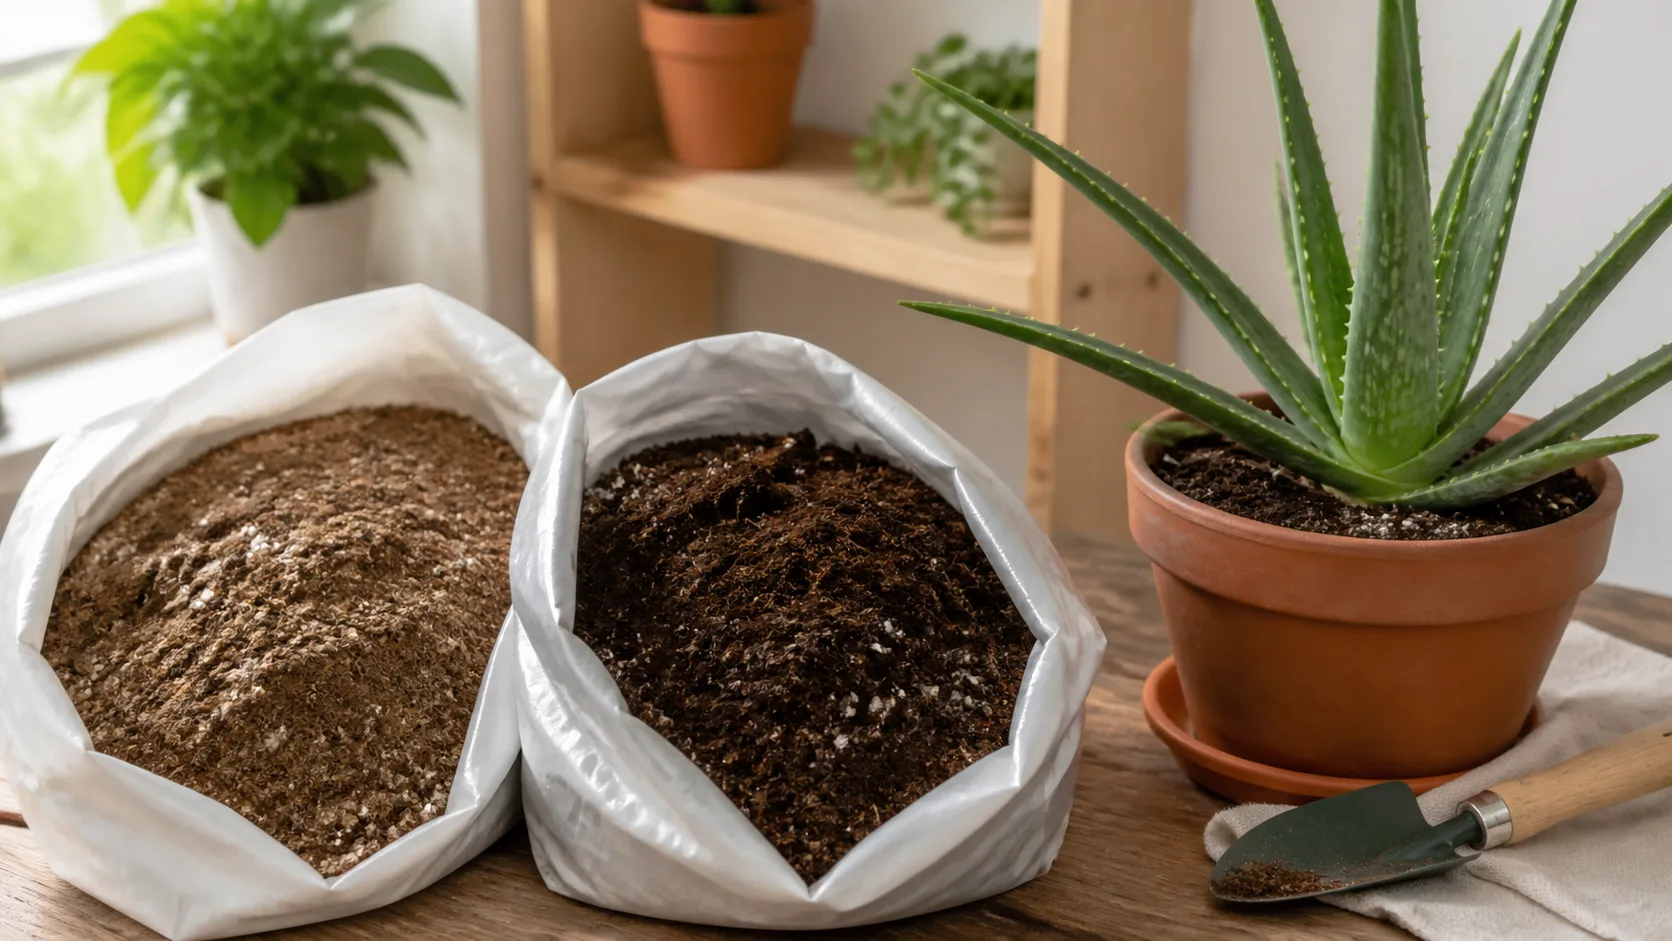
Two cactus-style mixes can differ sharply in texture and moisture retention even when both appear suitable for succulents.
How to Read Your Current Mix
Before you mix anything new, run these three checks on whatever aloe is already sitting in:
The squeeze test. Take a small handful of the mix when it is damp after watering. Press it between your fingers. If it holds a clump or feels sticky and cohesive, the organic content is too high. Good aloe mix falls apart immediately when you release pressure - it should feel almost sandy, not like garden soil.
The drain test. Water the pot and watch the drainage hole. Water should begin draining within 30 to 60 seconds and slow to a drip within two to three minutes. Longer than that, and the mix is retaining more than aloe wants.
The interior check. Push a finger two knuckles deep after the surface looks dry. If it feels cold and damp underneath a dry surface, the root zone is not cycling through dry periods between waterings.
Two or more of these failing is a signal to act, not to wait.
The Base Recipe and How to Adjust It
Start with a commercially available cactus or succulent potting mix. That gives you a workable foundation with better baseline drainage than standard potting soil. Then adjust the proportion of inorganic material - perlite, pumice, or coarse horticultural grit - based on what your home and habits actually look like.
Inorganic material does not break down or compact over time. It creates air pockets that water drains through and allows roots to breathe after each watering. The more you add, the faster the mix dries.
Mix Ratio by Situation
| Situation | Cactus mix | Inorganic (perlite/pumice) | Notes |
|---|---|---|---|
| Bright window, dry climate, careful waterer | 50% | 50% | Solid default for most indoor setups |
| Lower light, humid room, or generous waterer | 30-40% | 60-70% | Darker or more humid conditions keep any mix wetter |
| Top-heavy aloe in a lightweight pot | 40% | 60%, use coarse grit | Heavier mineral component improves stability |
| Repotting a small pup | 50% | 50%, small container | Proportional pot size keeps drying predictable |
| Root rot recovery | 0% old mix | 100% fresh dry mix | Remove all wet soil; inspect and trim damaged roots first |
Root rot recovery note: Do not repot straight back into the same mix. Remove all the wet soil, inspect the roots carefully - brown and mushy sections should be cut away cleanly with clean scissors or a knife - let the plant sit bare-root in a dry spot for one to two days, then repot into a dry, well-draining mix. Wait at least a week before the first watering.
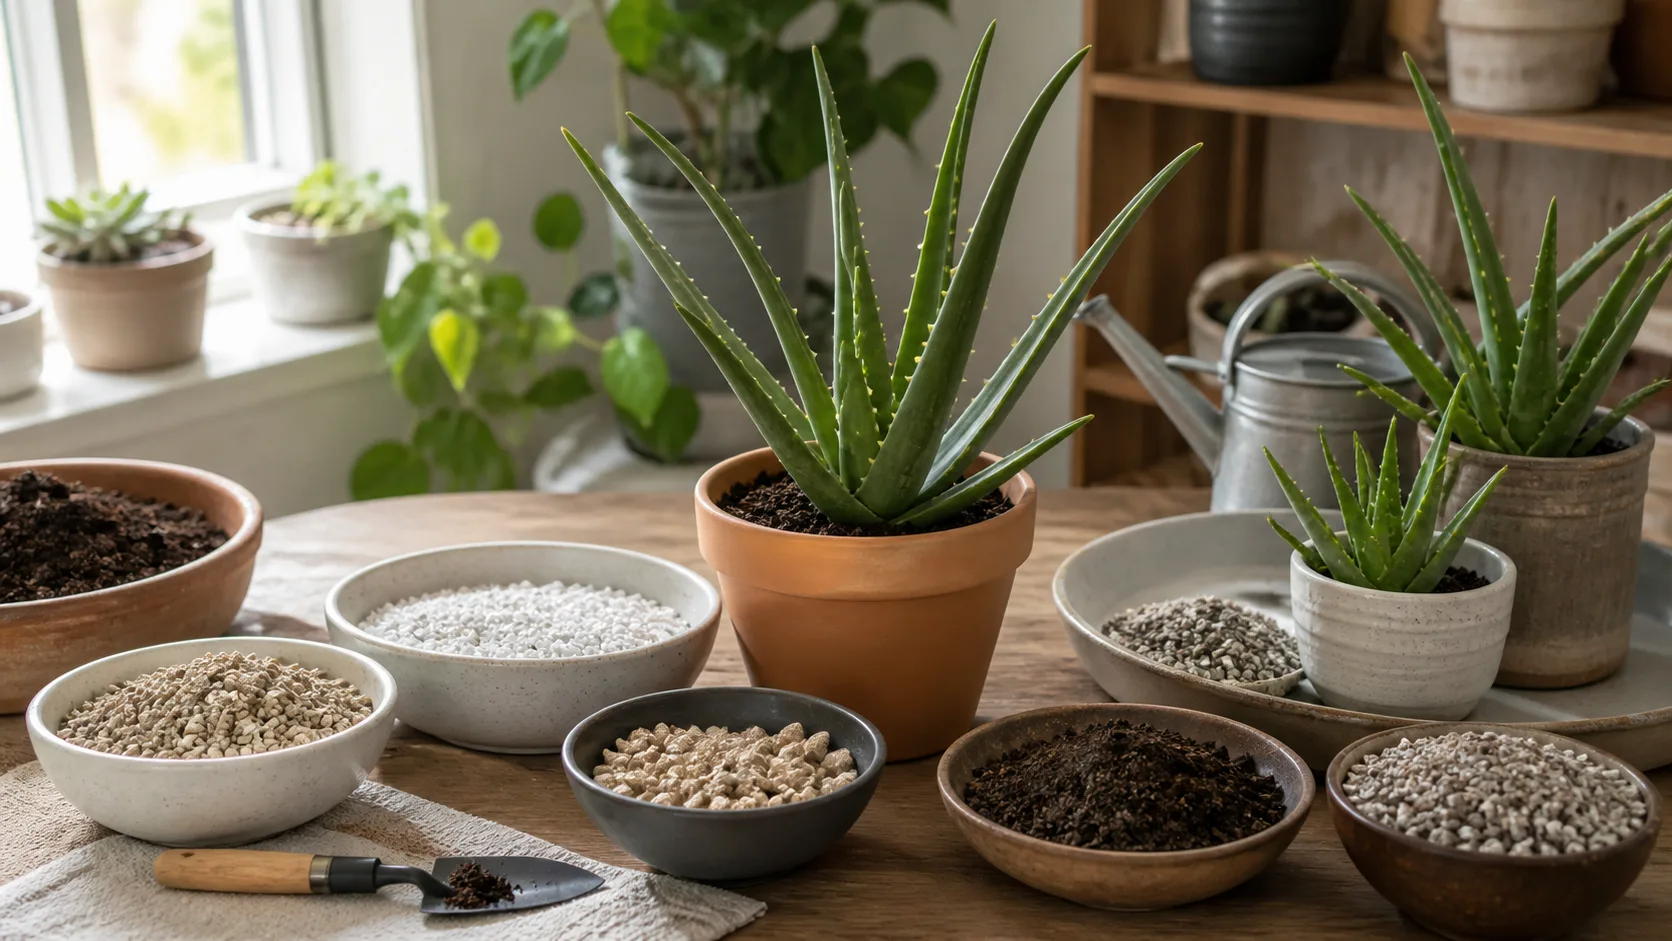
Adjust the balance of organic mix and coarse mineral particles to the aloe’s size, container, light, humidity, and recovery needs.
Quick Decision Tree
- No drainage hole? Fix the pot before adjusting the mix. Rocks in the bottom do not solve trapped water.
- Drain test takes longer than a few minutes? Raise the mineral share with more perlite, pumice, or grit.
- Roots are brown, mushy, or sour-smelling? Treat it as a rescue repot, discard the wet mix, and restart dry.
- Plant is healthy but top-heavy? Keep the fast-draining mix and shift toward a heavier mineral component plus a more stable pot.
Care Cards
Care card: bright, warm room
Start around 50 percent cactus mix and 50 percent perlite or pumice. This is the easiest baseline for a sunny window and a cautious watering routine.
Care card: humid room or lower light
Push the mineral side higher, often 60 to 70 percent, because the room itself slows drying.
Care card: rescue repot after rot
Use only fresh dry mix, trim damaged roots first, and wait at least a week before watering.
Care card: small pup or recently divided aloe
Keep the pot proportional to the root mass so the center of the mix can dry on time.
What To Look For in a Pot
The soil mix and the pot work as a system. A well-adjusted mix in a pot without drainage holes is still a problem.
Aloe needs a container with at least one open drainage hole at the bottom. Not a decorative layer of rocks inside the pot, not a saucer she sits in permanently, but an actual hole where water can escape.
Terracotta is a strong choice because the material is porous and helps moisture evaporate from the sides of the pot, not just the surface. This is a meaningful advantage in humid rooms or for owners who tend to water on the generous side.
Glazed ceramic and plastic hold moisture longer, which is not a disqualifying problem, but it does mean you need to be more attentive about letting the mix dry fully before watering again.
Size matters more than most new aloe owners expect. A pot with a lot of empty soil around the root ball stays wet in those outer areas even if the plant itself has already drunk its fill. Move up one pot size at a time, not two or three.
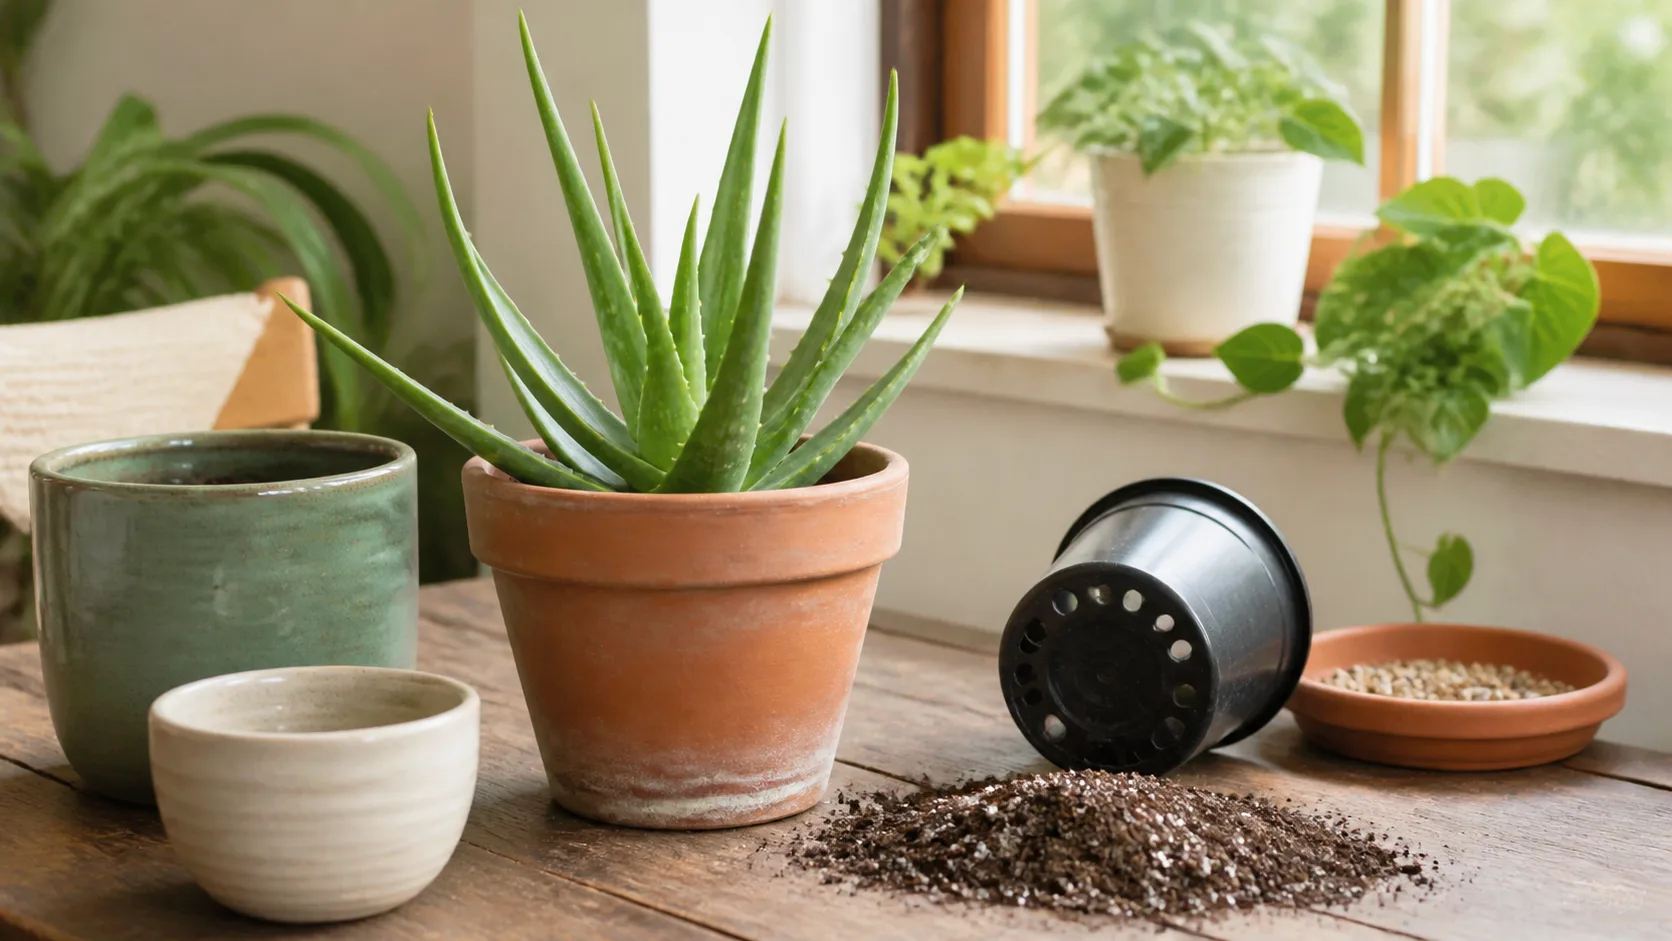
A proportionate terracotta pot and an open drainage hole help a gritty aloe mix dry on schedule.
Signs Your Mix Is Staying Too Wet
Sometimes the surface of the soil looks dry while the root zone is still holding moisture. These are the signals worth checking:
- Push a finger two knuckles deep into the mix. If it feels cold and damp where the surface was dry, the interior is not drying out between waterings.
- Leaves that were firm are starting to feel soft or look slightly translucent near the base.
- There is a musty or sour smell when you water.
- The plant feels looser in the pot than it used to, as if it has lost some of its anchoring.
- Water takes several minutes to drain through after you water.
If two or more of these are true at the same time, it is worth unpotting and checking the roots before the situation worsens. You do not need to wait until you can see visible collapse from the outside. The root rot treatment guide walks through the inspection and rescue steps in detail.
Plant ID + Plant Doctor
Not sure what your plant needs?
Snap a photo in KnowYourPlant to identify the plant, check yellow leaves, spots, wilting, or pests, and get a calm next step before the problem spreads.
Common Problems
Soft or translucent lower leaves. The root zone is often staying wet too long, especially when the surface looks dry but the center still feels cold and damp.
Aloe loosens in the pot. This can mean roots have started to fail from rot and are no longer anchoring the plant well.
Musty smell, fungus, or repeated dampness. Heavy organic mix and slow drainage are usually the underlying problem, not just the watering schedule.
Water races through the top but the middle stays wet. The mix may be compacted, broken down, or drying unevenly around old roots.
Common Mistakes That Keep Aloe in the Wrong Soil
These come up often enough to be worth naming directly.
Using moisture-control potting mix. Products labeled “moisture control” or “moisture-retaining” are designed to hold water longer. That is the opposite of what aloe wants. Even amended with perlite, they are harder to dial in than a standard cactus mix.
Adding rocks to the bottom of a pot without drainage holes. This is one of the most persistent gardening myths. Rocks at the bottom of a sealed pot do not improve drainage - they create a perched water table that roots eventually reach. If the pot has no hole, the rocks just mean the water pools at the rocks-and-soil boundary instead of at the very bottom.
Watering right after a rescue repot. When you repot to rescue an aloe from root rot, the plant needs time to form a callus on any cut root ends before water touches them again. Watering too soon after cutting invites the same rot you just removed. Wait at least one week, sometimes two, depending on how much root damage there was.
Repotting into a pot that is too large. The appeal of giving an aloe room to grow is understandable, but a large container holds more soil, which holds more moisture. A gradual size-up keeps the drying cycle predictable.
Skipping the pot check. It is easy to focus entirely on the soil recipe while overlooking that the pot has no drainage hole, or that the drainage hole is blocked by compacted roots. Check the hole is open and clear every time you repot.
Trusting the bag label alone. Pick up the cactus mix before you buy it. A heavy bag often signals more peat or coir - which means more moisture retention. A bag that feels light and gritty is more likely to perform the way aloe wants.
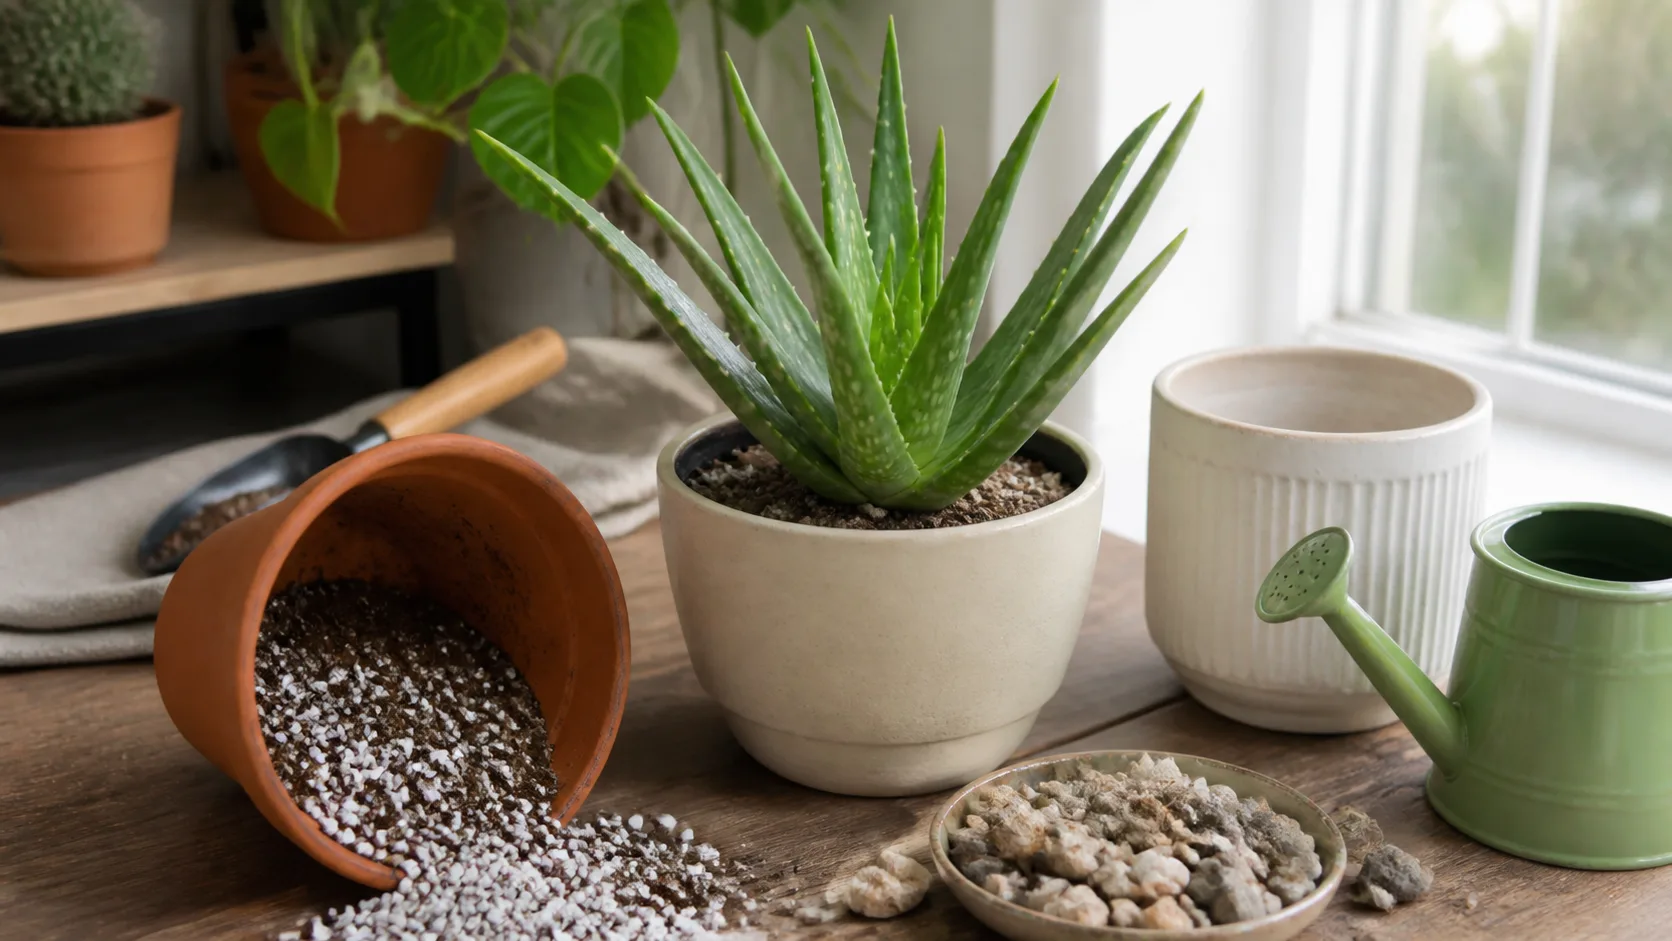
An oversized pot, a decorative rock layer, and water applied too soon can undo the benefits of an otherwise gritty aloe mix.
Drainage Checklist: Before You Finalize Any Aloe Soil Setup
Run through these before you put the plant back:
- Container has at least one open, unobstructed drainage hole
- Mix contains visible mineral particles, not only dark peaty material
- The drain test passes: water flows through within two to three minutes of watering
- After watering, the mix dries out within a few days under your conditions
- The plant is not sitting in standing water in its saucer
- You are watering based on leaf firmness and soil dryness, not a fixed weekly schedule
If all six are true, you are in a good position. If even one is off, that is where to focus.
Once the mother plant is stable in that mix, the aloe leaf propagation guide explains why rooted pups are more dependable than detached leaves.
A Note on Pet Safety
Aloe ingestion is worth thinking about for households with cats or dogs. Both the ASPCA and Pet Poison Helpline list aloe vera as toxic to cats and dogs. The saponins and anthraquinones in aloe can cause vomiting, diarrhea, lethargy, and in larger amounts, more serious symptoms.
This is not about the soil itself, but soil work - repotting, trimming, moving the plant - often means the aloe ends up somewhere accessible temporarily. When you are adjusting an aloe’s soil setup, decide in advance where the plant will live once it is back in its pot. Out of reach of pets that investigate or chew is the right answer.
For a broader picture of what is safe to grow alongside animals, cat-safe indoor plants and dog-friendly houseplants are worth bookmarking before you shop for new plants.
Real User FAQ
Can I use regular potting mix for aloe vera? Standard potting mix holds too much moisture for aloe. It is designed for plants that want consistent hydration, which is the opposite of what aloe needs. You can amend it heavily with perlite - at least 50 percent perlite by volume - to bring drainage closer to what aloe wants, but a dedicated cactus or succulent mix is a better starting point because the baseline drainage is already closer.
How much perlite should I add to cactus mix for aloe? For most indoor setups, a 50/50 blend is a reasonable starting point. In a humid room, near a north-facing window, or if you tend to water generously, shift toward 60 to 70 percent perlite. In a bright, dry spot where you water very conservatively, 50/50 is usually sufficient. The goal is a mix that feels light and almost gritty when dry - not dense or clumping.
What is the difference between perlite and pumice for aloe soil? Both are inorganic materials that improve drainage and aeration, and neither retains water or compacts. Perlite is the lightweight white granules you see in most commercial mixes. Pumice is denser and heavier, which gives it a slight advantage for top-heavy plants that need more stability in the container. Either works well for aloe. Avoid fine or powdery grades of either - you want visible particles that create real air gaps in the mix.
Does aloe vera need drainage holes in the pot? Yes, without exception. A fast-draining mix in a pot without a drainage hole still traps water at the bottom, which the roots eventually sit in. Adding rocks inside a sealed pot does not fix this - it just raises the level at which water pools. If you love a decorative pot without a hole, use it as a cachepot: keep the aloe in a plain nursery pot with drainage, set that inside the decorative one, and remove it to water and drain properly.
When should I repot aloe in fresh soil? If the soil has been in use for more than two to three years, it is worth refreshing. Organic material in potting mix breaks down over time and begins to retain more moisture as it does. Also repot if you see roots circling inside the pot or pushing through the drainage holes, if the plant is notably top-heavy and unstable, or if you are dealing with root rot and need to remove damaged material. Spring is the easiest time since the plant is entering a more active growth phase, but aloe tolerates repotting in other seasons too if you hold off on watering for a week or two afterward.
How do I know if my aloe is getting too much water versus if the soil is the problem? These often show the same symptoms - mushy base, soft leaves, yellowing - because wet soil is usually the result of one or both. The practical test: let the soil dry out completely and see whether the leaves firm back up. If they do, the soil was just staying wet too long. If the plant continues to soften even after the soil dries, the roots may already be compromised and it is time to unpot and inspect. Soil drainage and watering habits are two halves of the same problem, and fixing both at once is the fastest path back.
Is aloe vera soil safe around pets? The soil mix itself is not the concern - the aloe plant is. Both the ASPCA and Pet Poison Helpline list aloe vera as toxic to cats and dogs, so keeping the plant out of reach of animals that chew or investigate pots is the right approach regardless of what soil you use.
Does the weight of the cactus mix bag matter? It is a useful first signal. A heavier bag usually contains more peat or coir, which retains moisture longer. A lighter, grittier bag is more likely to drain quickly. Your light, humidity, and watering habits decide whether that is the better fit. Holding the bag before you buy it, and checking whether it clumps when you squeeze a handful, gives you more information than the label alone.
Freshness Note and Methodology
This guide was refreshed in July 2026 after reviewing current aloe-soil search results, University of New Hampshire Extension guidance, the New York Botanical Garden aloe houseplant guide, and pet-safety references from the ASPCA and Pet Poison Helpline. Community questions about root rot, heavy cactus mix, and rescue repotting were used as qualitative plant-owner signal for the confusion points readers keep running into, not as stand-alone proof.
Getting the soil right is one of the most straightforward things you can do for aloe, and it pays off quietly every time she goes through a dry stretch without complaint. Once she is in a mix that drains the way she likes, you will notice her leaves stay firmer and the plant feels more settled in the pot. That is her signal that conditions are right.
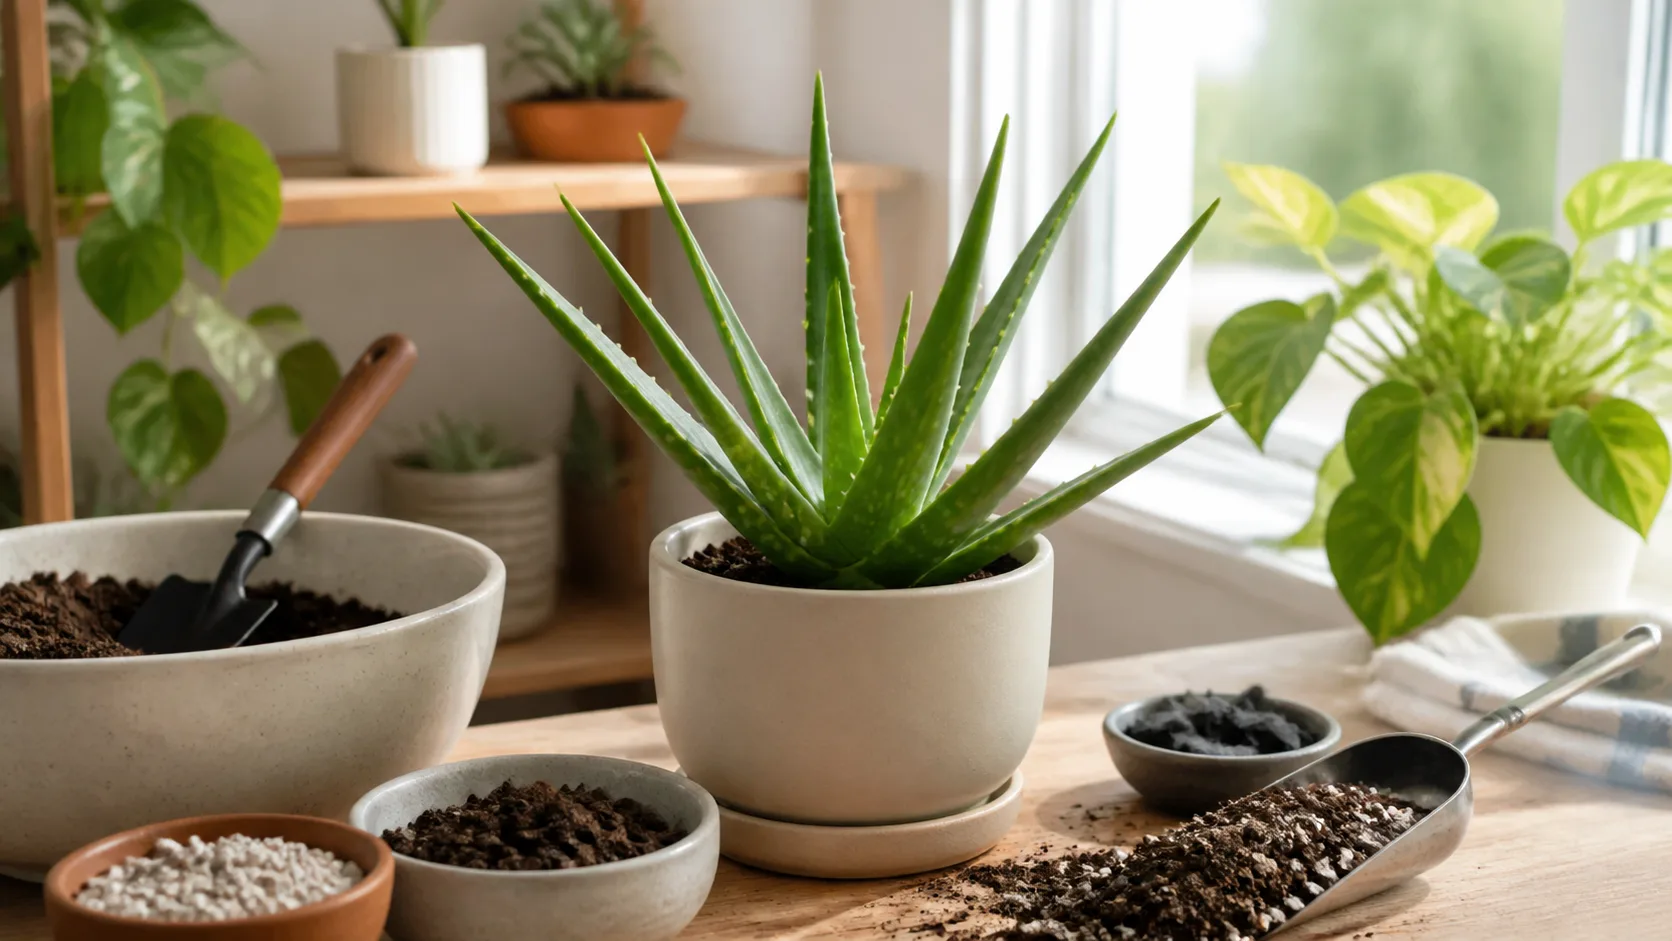
A firm, settled aloe in a measured blend of organic and mineral components is the practical result the refreshed guidance is designed to produce.
For more on caring for aloe overall, the aloe vera care guide covers light, watering, and seasonal needs in full. If you are choosing soil for other houseplants in the same collection, best potting soil for indoor plants covers the broader principles and how drainage needs differ between plant types.