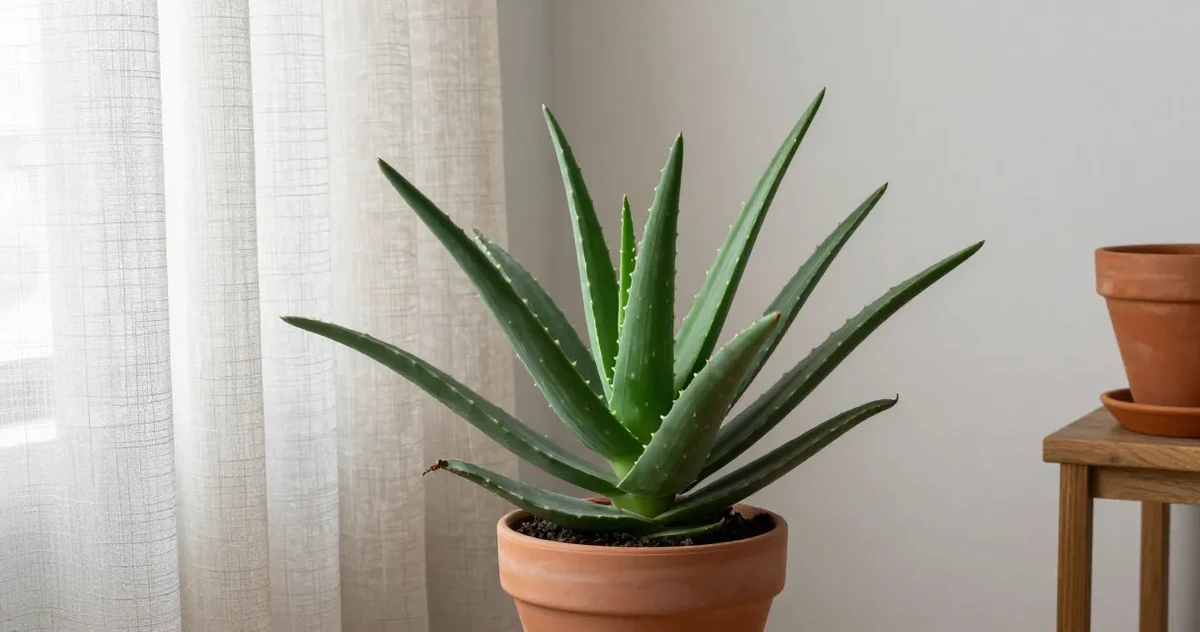
Most people buy aloe vera for two reasons: it is nearly indestructible, and it is actually useful. Burn your hand on the oven, snap a leaf, and the gel is right there. That combination of low-maintenance and practical value makes aloe one of the few houseplants that earns its spot on a windowsill without asking much in return.
The catch is that aloe has one quiet failure pattern. The plant often looks fine right up until it does not. By the time the leaves go soft and the base turns dark, the roots may already have been sitting in wet soil for too long. Overwatering does not announce itself the way underwatering does, which is why aloe rewards diagnosis more than routine.
This guide covers what aloe actually needs indoors, how to read the leaf signals before they get worse, when to harvest gel, and what not to do when the symptoms feel contradictory. If your main question is what to do with the leaf once you cut it, the guide to aloe vera plant uses walks through safe harvesting, gel handling, and the yellow latex layer in more detail.
What Most Care Guides Miss
Most aloe guides describe the ideal routine. Real homes are messier. The same mushy leaf can come from a wet root zone, moisture trapped against the base, or a potting mix that dries on top while staying heavy underneath. That is why changing the watering schedule alone often makes things worse.
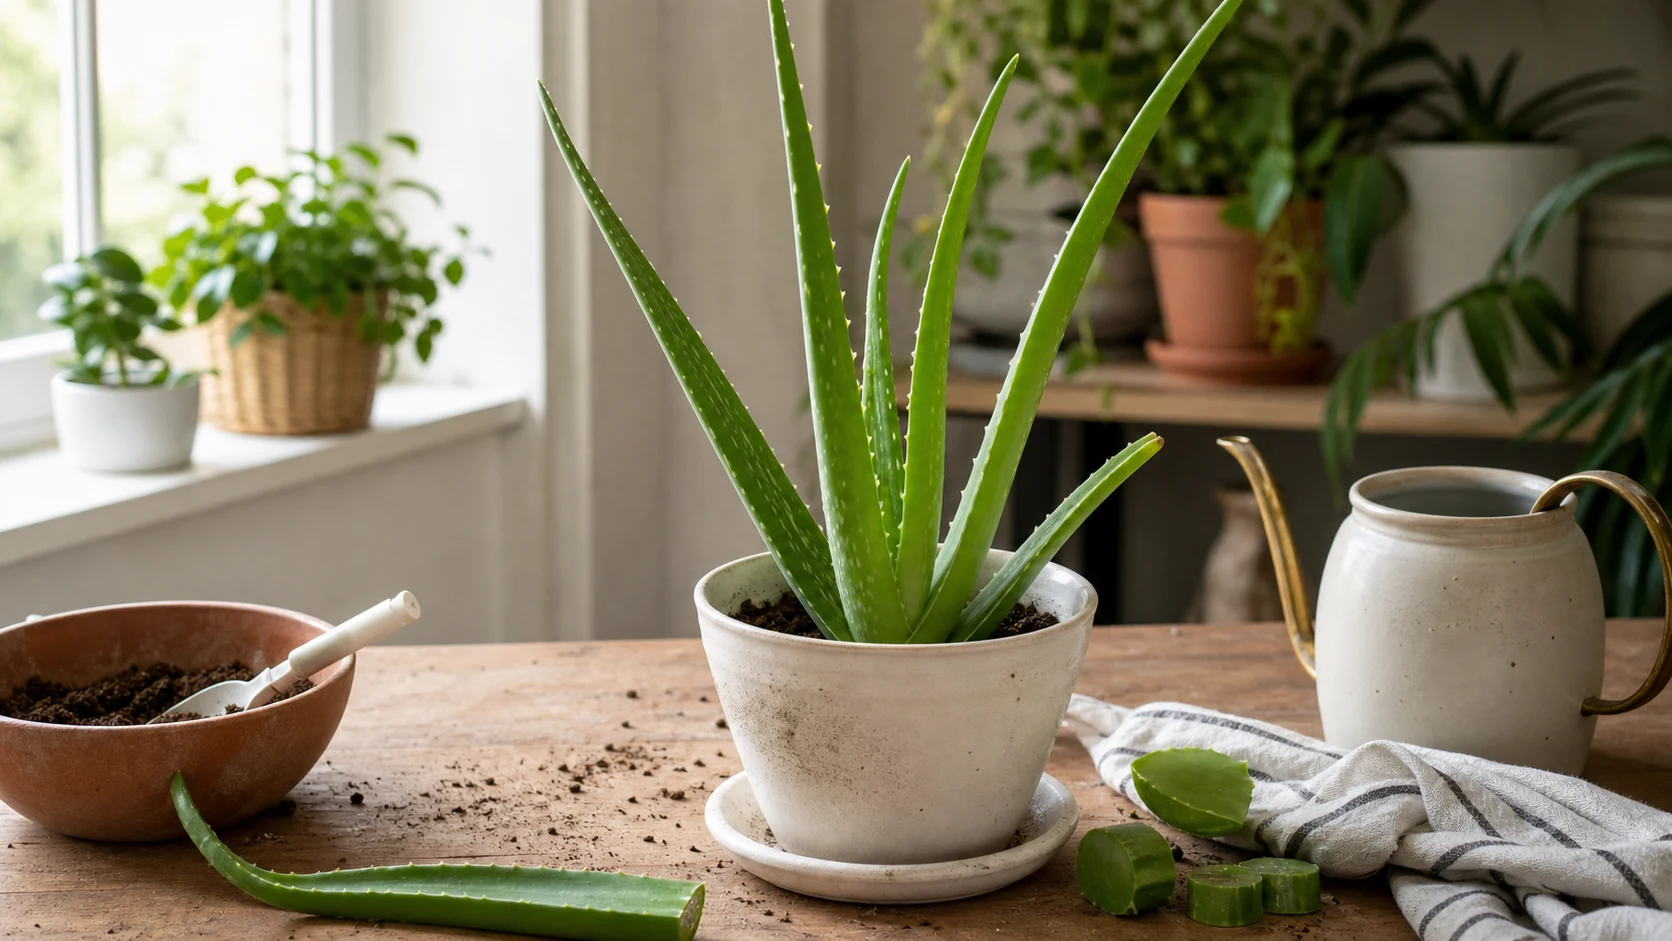
Check the whole care setup—from light and deep soil moisture to drainage and recent leaf damage—before changing the watering routine.
Before you change care, check the plant in this order:
- Light: Is the plant growing toward the window, fading, or scorching?
- Root zone: Is the pot drying predictably, or only drying on top?
- Leaf pattern: Did the oldest leaves, newest leaves, tips, or crown change first?
- Recent change: New pot, new location, fertilizer, cold draft, heat vent, or repotting?
Real owner threads keep circling the same confusion patterns: mushy lower leaves in “dry” soil, brown tips that could mean thirst or stress, and snapped leaves that people hope will root like a pothos cutting. Aloe gets easier when you separate those situations instead of treating them as one generic care problem.
What real owners keep getting stuck on
- Mushy lower leaves can trigger the wrong fix. Owners often swing from watering less to watering more because the top of the pot looks dry, even when the deeper root zone is staying wet.
- One soggy outer leaf does not always mean the whole plant is failing. Sometimes moisture is trapped where the soil sits too high against the crown or lower leaf base.
- Brown tips are not one diagnosis. Dry papery tips, thin thirsty leaves, and wet brown tissue point in different directions, so texture matters more than color alone.
Symptom diagnosis card
| What you see | Most likely issue | Check first |
|---|---|---|
| Mushy lower leaf or soft base | Overwatering, trapped crown moisture, or root rot | Soil deep in the pot, crown line, root smell |
| Brown papery tips | Thirst, mineral sensitivity, or old leaf aging | Leaf texture, full-pot dryness, water quality |
| Thin, slightly shriveled leaves | True thirst | Pot weight and how completely the mix dried |
| Pale floppy growth | Not enough light | Hours of bright light per day |
| Brown scorch patches | Sunshock after a sudden move | Recent light change |
| Snapped leaf | Damage, not a propagation shortcut | Whether the rest of the plant is healthy and producing pups |
Decision tree
- If the base is soft or dark, stop changing the schedule and inspect the root zone first.
- If only one outer leaf is soggy, check whether soil or water is sitting against the crown before assuming the whole plant needs more or less water.
- If the leaves are thin and the pot is truly light, water deeply and let the soil drain fast.
- If the leaves are pale and stretching, fix light before you touch fertilizer.
- If you want more aloe plants, wait for pups. A snapped leaf is usually a dead end, not a reliable propagation method.
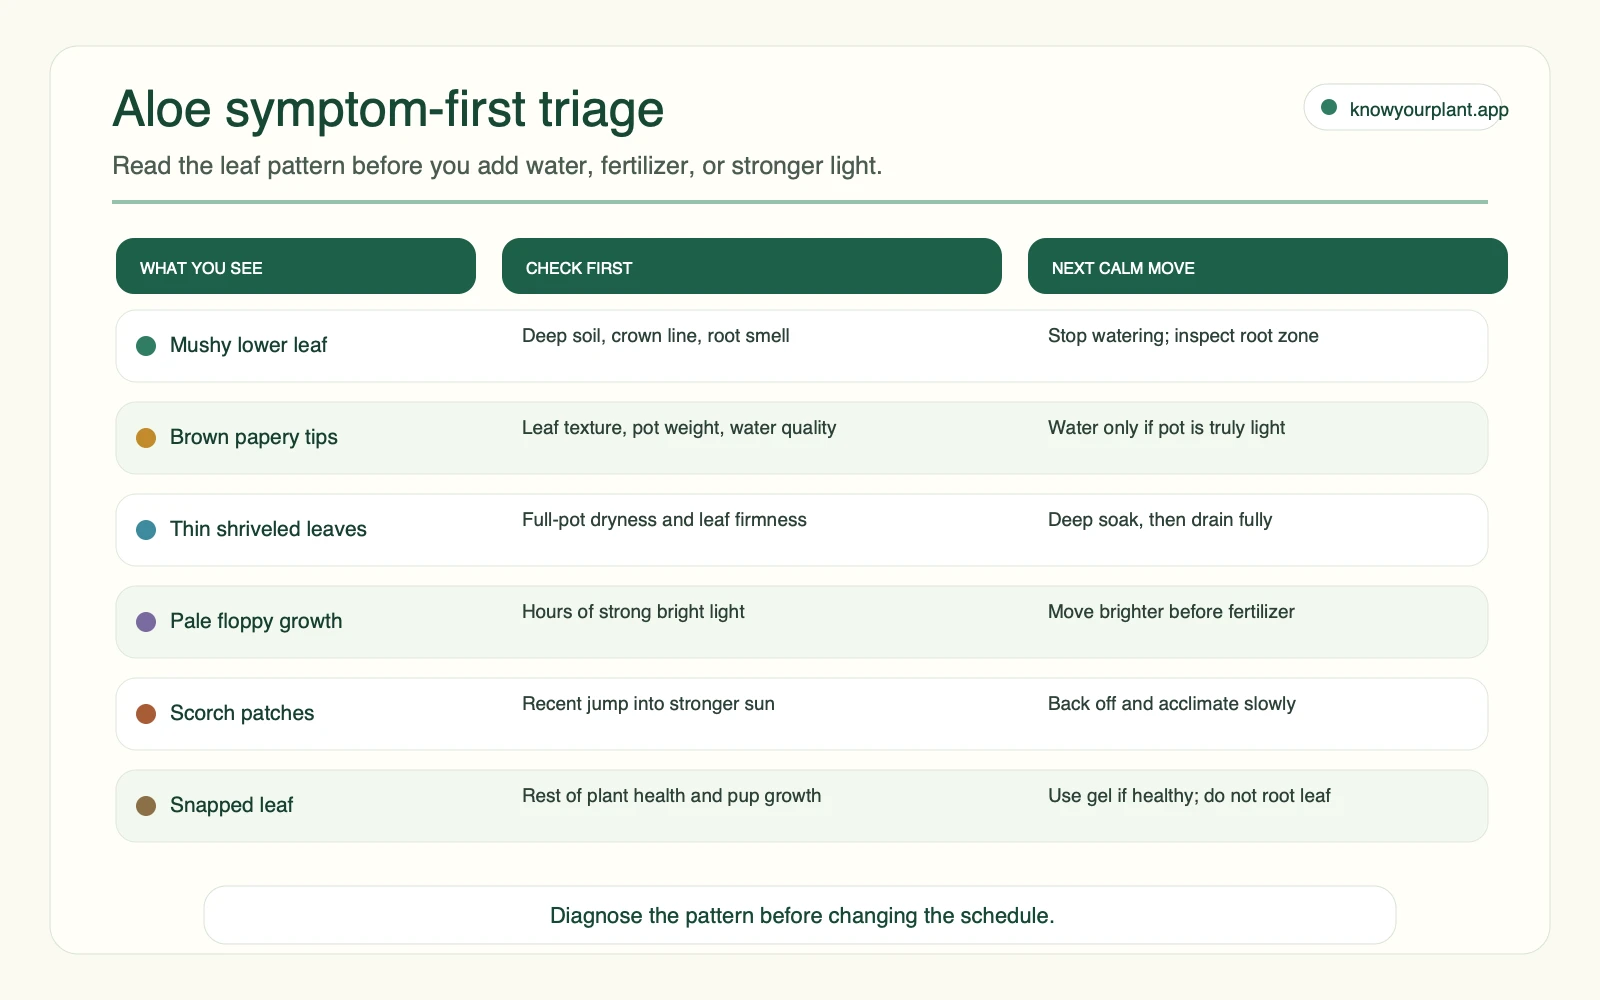
Use the triage card to separate wet-root risk, thirst, light stress, scorch, and snapped-leaf confusion before changing care.
What Aloe Vera Actually Needs
Aloe evolved in semi-arid regions where rain comes hard and infrequently. It stores water in its thick leaves, slows down during dry spells, and wants the roots to breathe between soakings. Indoors, the basic goal is simple: bright light, fast drainage, and long dry intervals.
The most common mistake is treating aloe like a tropical houseplant that wants regular moisture. It does not. If you already keep other drought-tolerant plants, the succulent care guide covers the broader framework. For apartment-specific dry-down and window-light problems, how to care for succulents indoors adds the indoor setup layer. Aloe fits squarely into that category.
Identification Snapshot
- Botanical name: Aloe vera
- Growth habit: Clumping succulent with thick upright leaves and pups at the base
- Leaf clue: Firm, fleshy leaves should feel plump, not hollow or spongy
- Best indoor spot: Bright window with several hours of strong light
- Most common failure pattern: Wet roots in slow-draining soil
- Best propagation route: Division of pups, not leaf cuttings
- Pet safety: Not pet-safe, especially if cats or dogs chew the leaves
Lookalikes and Confused With
| Plant or situation | What people confuse it with | What to check |
|---|---|---|
| Aloe vera vs haworthia or gasteria | Small spotted succulents with upright leaves | Aloe leaves are usually longer, smoother, and form a looser rosette |
| Healthy mature outer leaves | “The plant is collapsing” | Older outer leaves naturally angle outward more than fresh center leaves |
| Snapped aloe leaf | “Maybe I can root this like a cutting” | Aloe usually propagates from pups, not detached leaf pieces |
| Stress color after more sun | Disease or deficiency | Brown scorch patches after a sudden light jump usually point to sunshock |
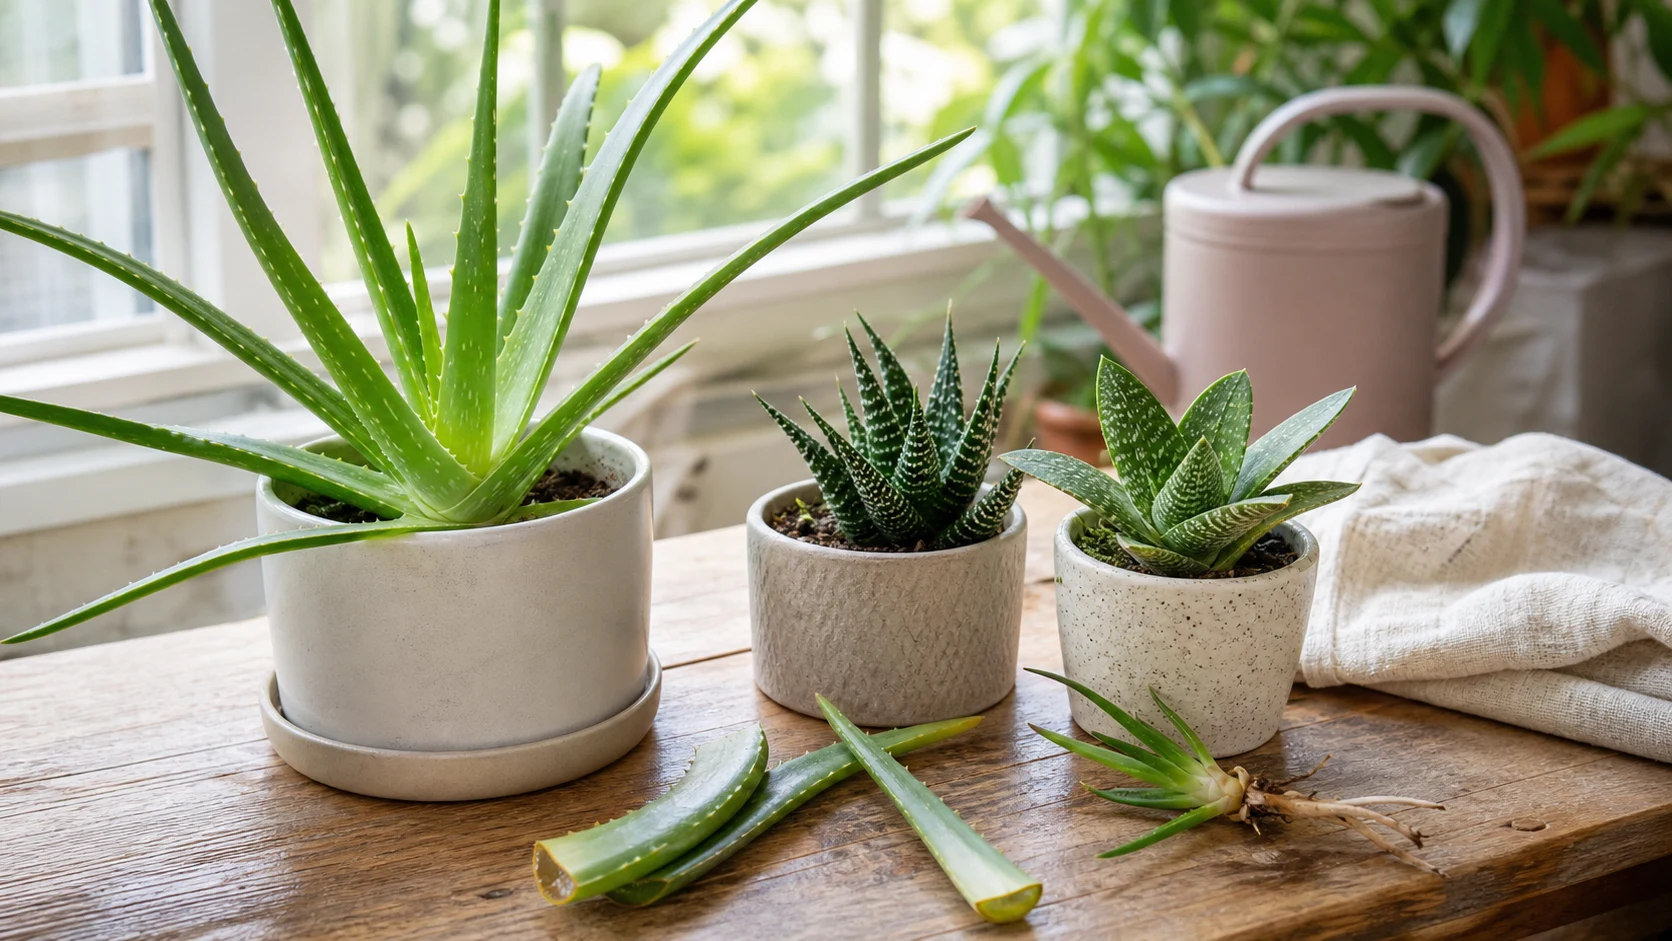
Longer aloe leaves, compact haworthia and gasteria rosettes, detached leaves, and a rooted pup show the differences that matter in practice.
Aloe Vera at a Glance
| Care need | What works best |
|---|---|
| Light | Bright direct or near-direct light, ideally 6+ hours |
| Water | Thorough soak only after the mix dries fully |
| Soil | Fast-draining cactus or succulent mix |
| Pot | Terracotta with drainage holes if possible |
| Fertilizer | Light feeding in active growth only |
| Best harvest leaves | Mature outer leaves on a healthy plant |
| Easiest propagation | Separate rooted pups |
| Biggest mistake | Watering by calendar instead of by dry-down |
Care Cards
Light care card
Aloe wants the brightest place you can realistically give it. Strong window light keeps the leaves compact, firmer, and more upright.
Watering care card
Wait for a full-pot dry-down, not a dry top inch with a damp center. When the pot feels light and the mix is dry all the way through, water deeply and let every bit of excess drain.
Soil and pot care card
Use a gritty mix and a pot that does not trap moisture. Terracotta helps if you tend to water early.
Harvest care card
Only cut a mature outer leaf from a plant that is firm, unstressed, and not showing mushy tissue at the base.
Winter care card
Growth slows sharply in winter. That usually means less water, no fertilizer, and more patience.
Light: Give It the Brightest Spot You Have
Aloe does best in bright direct or near-direct light. A south-facing or west-facing windowsill is usually ideal. It can tolerate bright indirect light, but you will often see the leaves growing longer, leaning, or looking paler.
University of Florida IFAS guidance notes that aloe performs best with strong light and can scorch if moved from lower light to intense sun too quickly. That is the part many people miss: an aloe can want more light overall and still burn if the transition is abrupt.
If you move aloe from a shelf to a sunny windowsill, do it in stages over a week or two. Brown papery patches on the leaf surface usually mean sunshock, not a watering emergency.
If natural light is genuinely limited in your space, a grow light for indoor plants placed 20 to 30 centimeters above the plant for 12 to 14 hours per day can cover the gap.
Watering: Less Than You Think, and More Thoroughly Than You Think
This is where most aloe problems begin.
Water deeply only when the soil is completely dry, then leave the plant alone. In summer, that might mean every two to three weeks. In winter, once a month or even less is common. The exact interval depends on light, pot type, room temperature, and how coarse the mix is.
The best aloe watering check is not the calendar. It is this combination:
- the pot feels noticeably light,
- the mix is dry beyond the top layer,
- the leaves are still mostly firm,
- and the saucer is not holding leftover water.
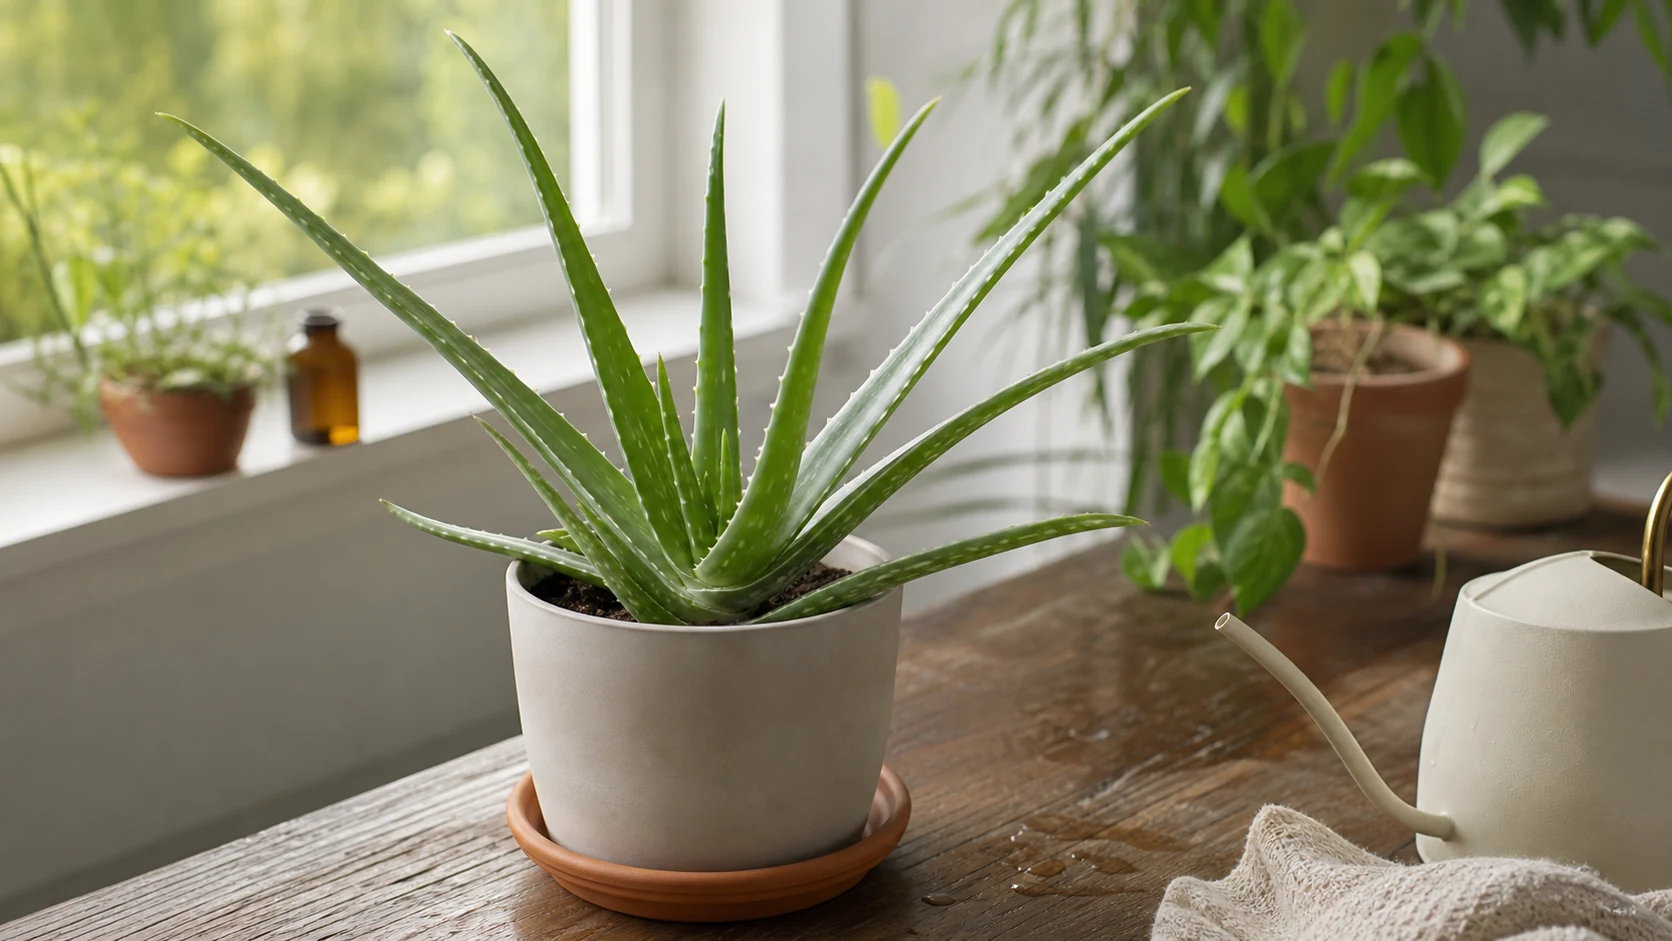
Water aloe deeply only after the mix has dried through, then empty the saucer and wait for the pot to become light again.
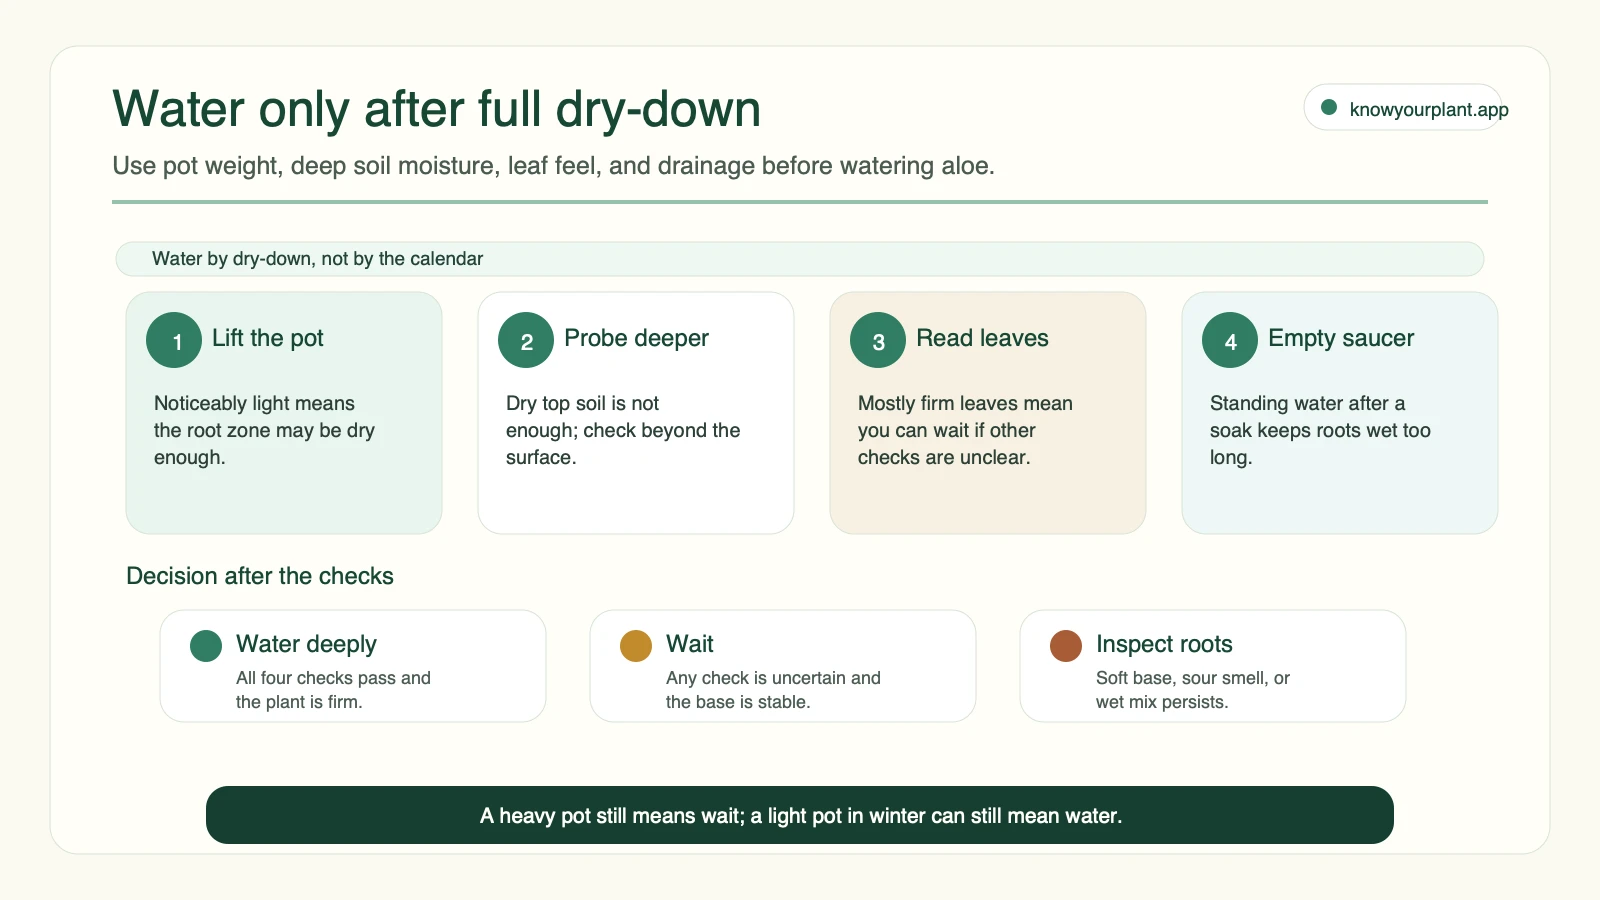
Water only after the dry-down checks agree; if the base is soft or the mix stays wet, inspect roots instead of changing the calendar.
Expert Note
NC State Extension, UF IFAS, and University of Minnesota Extension all point in the same direction here: aloe and other succulents need very well-drained soil, thorough watering followed by a full dry-out, and much less water in winter. If the care advice you are following does not emphasize drainage and dry-down, it is probably too generic for aloe.
Signs you are overwatering
- Leaves feel soft or mushy when pressed
- The base of the plant looks dark, wet, or translucent
- Soil smells sour or stays cool for too long
- The mix is dense or the pot has poor drainage
Signs you are underwatering
- Leaves feel thinner and slightly deflated
- Brown tips are dry and papery rather than wet
- The whole pot becomes very light quickly
One of the most repeated real-world aloe problems is this: the owner sees mushy leaves, waters less, then sees shriveled leaves later and waters more, without checking what the root zone was doing in the first place. Aloe does not need a faster reaction. It needs a better diagnosis.
If the signals are not clear, KnowYourPlant can help you work through what you are seeing step by step before the roots are affected.
Soil and Pot: Drainage Is Everything
Aloe needs a potting mix that drains quickly. Standard houseplant soil usually holds too much moisture. Use a cactus and succulent mix, or cut regular potting mix heavily with perlite or coarse sand.
The pot matters almost as much as the soil. Terracotta is ideal because it breathes and helps moisture leave the root zone faster. Plastic can still work, but you need to be more conservative with watering. Drainage holes are not optional.
UF IFAS also warns against jumping up more than two pot sizes when repotting. Oversized containers hold more damp soil than aloe can use, which is one of the fastest routes to root rot.
If you are ready to move it up, the guide on how to repot plants covers timing, pot sizing, and root inspection step by step.
Seasonal Watering Starting Points
Use these as starting points, not rigid rules.
| Setup | Typical watering rhythm | What matters more than the schedule |
|---|---|---|
| Bright summer window, terracotta pot | About every 2 to 3 weeks | Pot weight and whether the mix is dry all the way through |
| Bright average room, plastic pot | Often every 3 weeks or a bit longer | How dense the mix is and how much light reaches the crown |
| Lower-light winter setup | Often every 4 weeks or longer | Whether the plant has actually dried and stopped active growth |
A heavy pot in bright light still means wait. A light pot in winter can still mean water. The soil condition beats the season label every time.
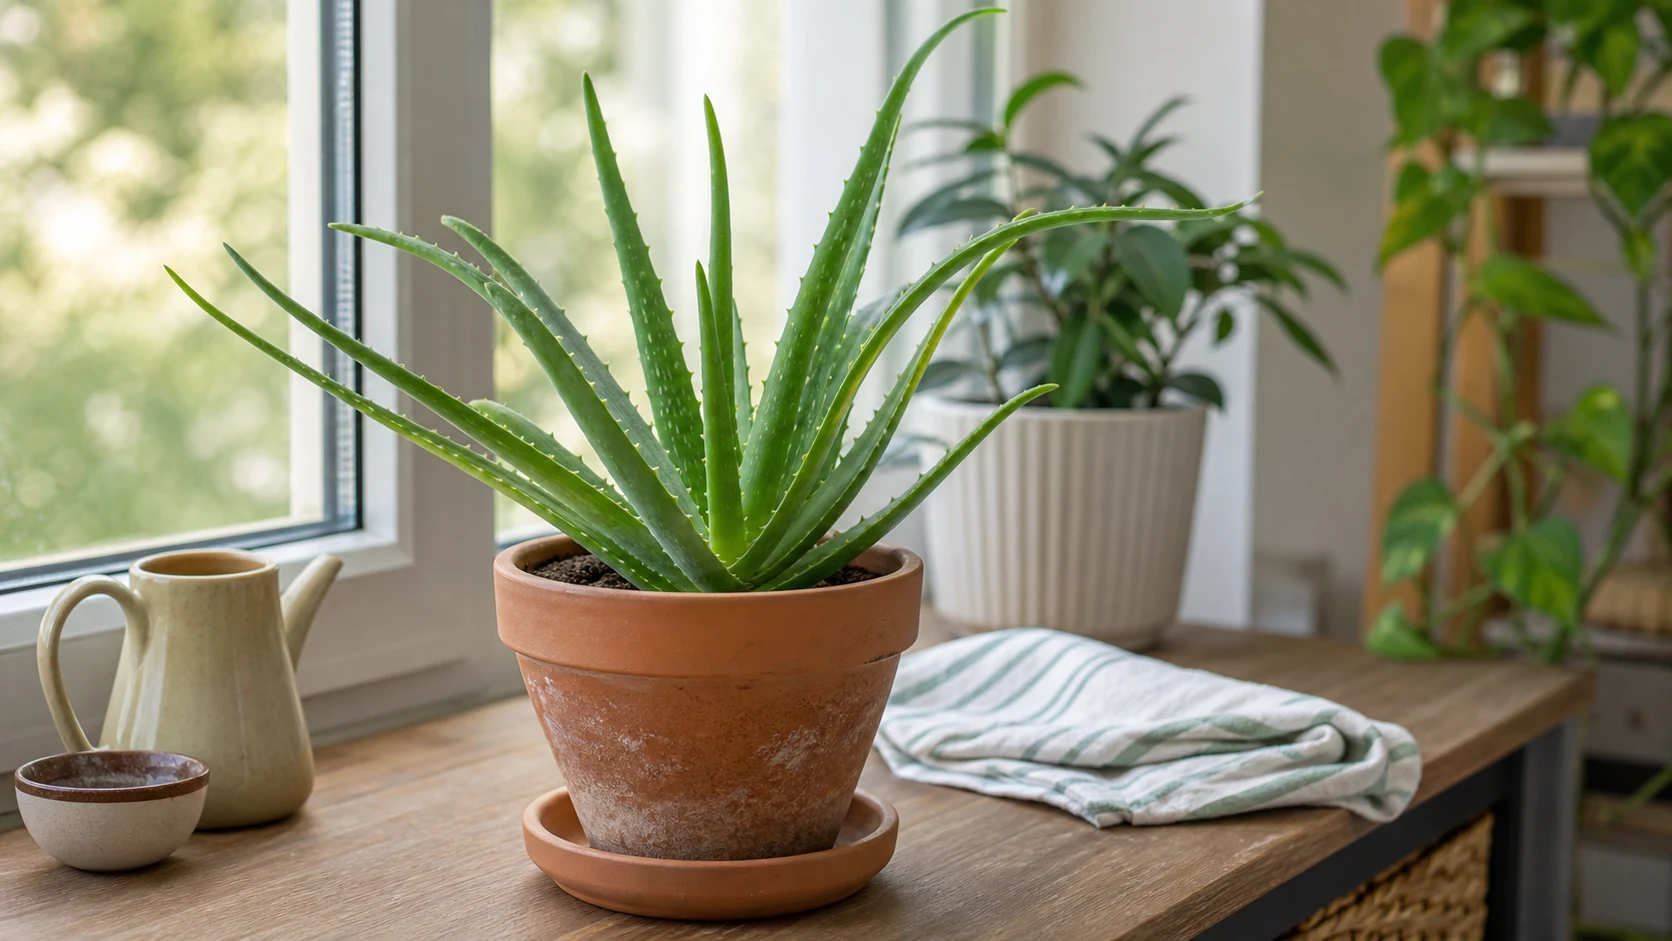
A bright window and breathable terracotta help the mix dry, but pot weight and soil condition still decide when this aloe needs water.
Seasonal Care Calendar
Aloe’s needs shift across the year.
Spring: As light intensity picks up, aloe starts moving again. This is the easiest time to repot, divide pups, or resume light feeding.
Summer: Peak growth season. Water only after full dry-down and watch for scorch if glass intensifies midday sun.
Autumn: Growth slows. This is when overwatering often sneaks in because the plant is using moisture more slowly than it did in summer.
Winter: Minimal watering, no fertilizer, and protection from cold drafts. University of Minnesota Extension notes that succulents generally need much less water in winter, and aloe follows that rule closely indoors.
KnowYourPlant sends seasonal care reminders so you are not trying to remember when to fertilize, when to scale back watering, or when your aloe shifts into its winter rest.
Can I Harvest This Leaf?
Aloe is only truly useful when the plant is healthy enough to spare a leaf.
Use this quick harvest checklist before cutting:
- The leaf is an outer, mature leaf, not a small center leaf
- The leaf feels firm and full, not soft or watery
- The base of the plant is dry and stable, with no mushy tissue
- The leaf smells fresh, not sour
- The plant is not in the middle of rot recovery, repot shock, or sun damage
If the answer is no to any of those, skip harvesting and stabilize the plant first. The gel from a stressed leaf is usually thinner, messier to handle, and a sign that the plant needs recovery more than pruning.
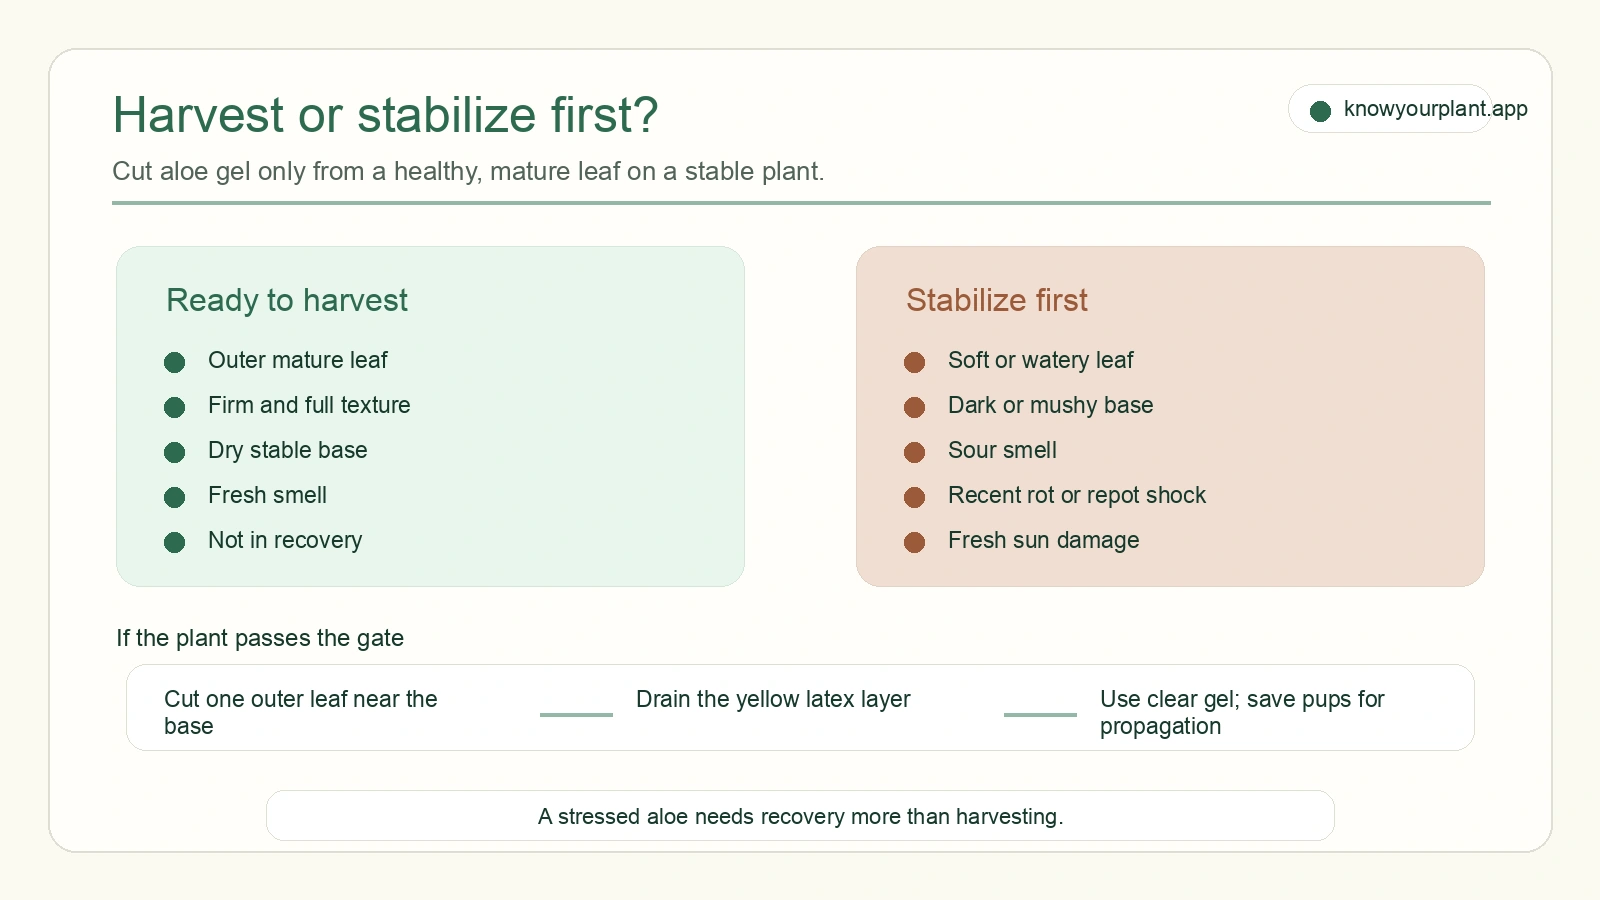
Harvest only from a stable plant; soft tissue, sour smell, rot recovery, or fresh sun damage means the plant needs care before cutting.
How to Harvest Aloe Gel
Always harvest from the outermost leaves, which are the oldest and most mature. Cut a leaf as close to the base as possible with a clean, sharp knife. Let the cut end rest over the sink or on a cloth for a minute or two so the yellow latex drains away before you scoop the clear inner gel.
That yellow layer contains compounds associated with irritation and laxative effects, so it is not the part you want on skin care or in casual DIY use. The inner gel is the usable portion.
Do not harvest more than one or two leaves at a time. Aloe grows slowly, and taking too much at once sets the plant back.
Propagating Aloe: Pups, Not Leaf Cuttings
Aloe regularly produces offsets, or pups, from the base. Those pups are the correct way to propagate the plant. Detached leaf cuttings usually rot before they root; the aloe leaf propagation guide explains what can work and why pups remain the reliable method.
Propagation choice table
| Real-life situation | Best move | Why |
|---|---|---|
| Snapped leaf | Discard or use for gel if healthy enough | It is rarely a reliable propagation piece |
| Crowded pot with rooted pups | Divide pups | This is how aloe naturally multiplies |
| Tall plant in dense nursery soil | Repot into faster mix | The real issue is often drainage, not propagation |
| Aloe keeps rotting after watering | Inspect roots and reset the mix | New plants will fail too if the setup stays wet |
For practical mix ratios and a drainage test, use the dedicated soil guide for aloe plants.
To separate a pup, wait until it has several leaves and at least some roots of its own. Remove the cluster from the pot, gently work the pup free, and pot it in dry succulent mix. Then wait about a week before watering.
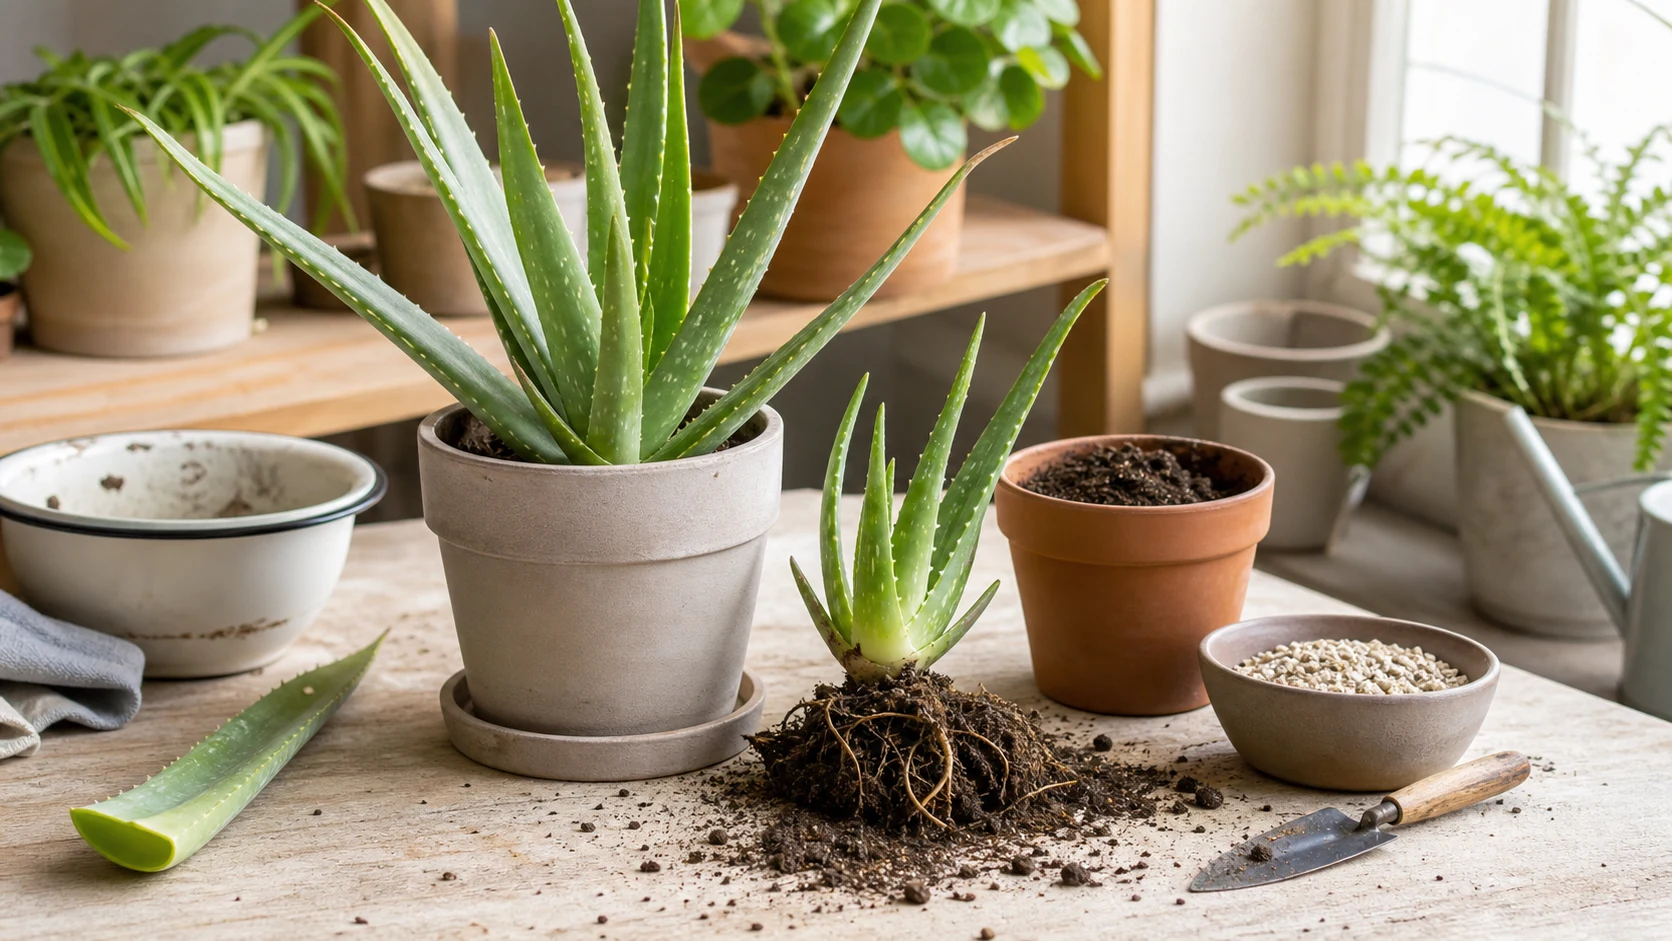
A rooted pup belongs in a dry, gritty mix; a detached aloe leaf is not the reliable route to a new plant.
Common Problems and What They Mean
Mushy lower leaves or soft base
Usually overwatering, poor drainage, or moisture trapped against the crown. If only one outer leaf is rotting while the rest of the plant looks stable, check whether soil is piled too high against the base. If the whole base feels soft, unpot the plant and inspect the roots.
Brown tips
Dry papery tips usually point toward thirst, mineral buildup, or old leaf wear. They are not the same as wet brown tissue. If the leaves are otherwise firm and the pot is very light, watering is the next step. If the tips keep returning even with good watering, try lower-mineral water for a few cycles.
Pale floppy leaves
Usually not enough light. Move the plant closer to the window before you reach for fertilizer.
Brown papery patches on the leaf surface
This is usually sunscorch after a sudden jump to stronger direct light. Aloe can love bright light and still need a gradual transition.
No new growth, but the plant is still firm
In winter, that is often normal dormancy. Do not force growth with extra water.
If rot has spread into the roots, follow the full root rot treatment guide step by step.
Common Mistakes
- Watering because the top layer looks dry without checking the center of the pot
- Using standard moisture-retentive potting soil for a succulent
- Repotting into an oversized decorative container with slow dry-down
- Harvesting a leaf from a plant that is already stressed
- Trying to propagate a snapped leaf instead of waiting for pups
- Treating every brown tip as overwatering or every mushy leaf as a schedule problem
When something looks wrong and you are not sure what caused it, snapping a photo in KnowYourPlant helps you sort out whether it is water, light, or something else before it gets worse.
Pet Safety
The ASPCA lists aloe as toxic to dogs, cats, and horses. The latex-containing parts are the main concern, but the safest approach is to keep the whole plant out of reach of pets that chew leaves.
If you want low-maintenance plants with less pet-risk, the guide to cat-safe indoor plants covers better alternatives.
Expert and Source Layer
This guide is anchored to practical horticulture and safety sources rather than generic lifestyle copy:
- North Carolina Extension Gardener Plant Toolbox: very well-drained soil, full dry-down between waterings, drainage holes, and pup-based propagation
- University of Florida IFAS Gardening Solutions: drought tolerance, strong light, slow pot-size increases, and root-rot risk in oversized containers
- University of Minnesota Extension: succulent dry-down logic, drainage, and reduced winter watering
- ASPCA toxic plant database: aloe is not a safe chewing plant for cats and dogs
Those sources line up with the same real-home lesson: aloe problems are usually less about perfect timing and more about light, drainage, and whether the crown and roots are staying too wet.
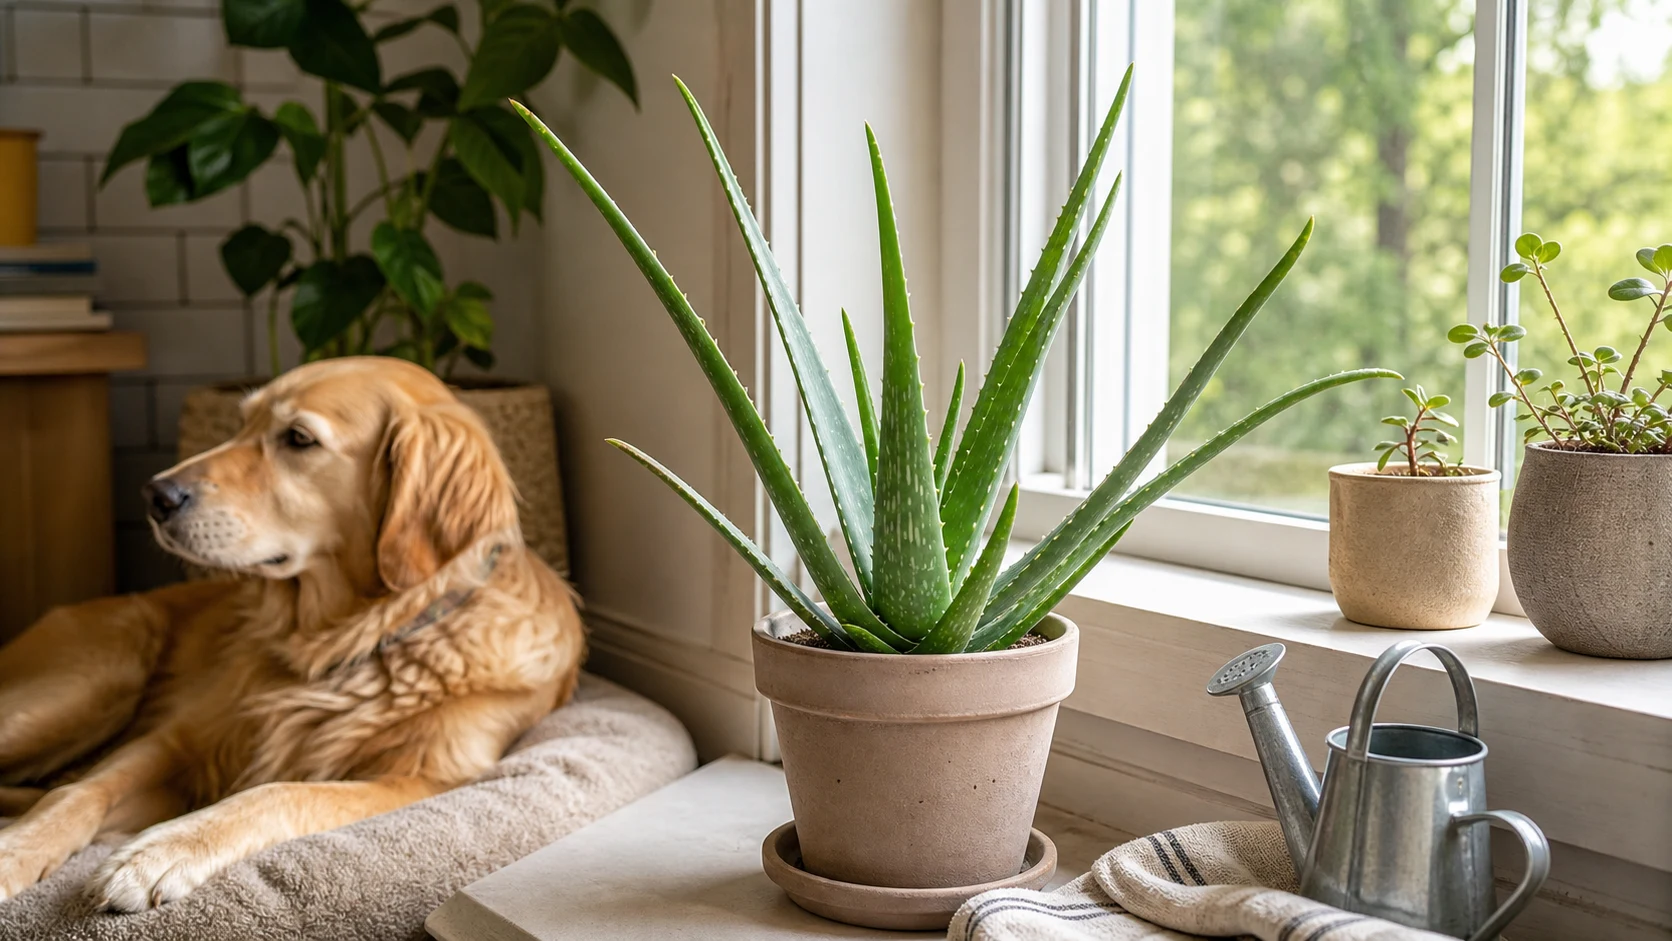
Evidence-based aloe care combines strong light and fast drainage with keeping the plant safely out of reach of pets.
For another practical pet-safety check, see Is Aloe Vera Toxic to Cats? Gel, Latex, Symptoms, and Action for the risk level and the next steps.
Methodology Note
This article was reviewed again on 2026-08-09 using the same evidence base that shaped the June 2026 refresh. The guidance here still relies on live SERP gap research, recurring owner confusion patterns around mushy leaves, brown tips, and failed leaf propagation, plus direct checks against NC State Extension, UF IFAS, University of Minnesota Extension, and ASPCA guidance. Community examples were treated as qualitative symptom patterns, not controlled testing data.
Freshness Note
Last updated: 2026-08-09.
Aloe care changes with season, pot type, and window strength. The broad rules stay stable, but the exact watering interval in your home can shift a lot between summer growth and winter slowdown.
Real User FAQ
Why are my aloe leaves mushy even though the soil looks dry?
Because the top can dry while the center stays wet, or because moisture is trapped against the base of a lower leaf. Check the crown, smell the roots, and inspect deeper in the pot before watering again.
Can I propagate aloe from a snapped leaf?
Usually no. Aloe propagates reliably from pups, not detached leaves. A broken leaf is better treated as damage or, if the plant is healthy and the leaf is clean, a one-time gel harvest.
How often should I water aloe vera indoors?
Usually every two to three weeks in brighter growing conditions, and often once a month or less in winter. But pot weight and full dry-down matter more than any fixed schedule.
Why are the tips brown if I am already watering?
Brown tips can come from thirst, mineral buildup, old leaf aging, or stress. Texture matters. Dry papery tips point in a different direction than wet or mushy tissue.
Can I harvest gel from a struggling aloe plant?
It is better not to. Wait until the leaf is firm and the whole plant is stable. A stressed plant needs recovery first.
Does aloe need direct sun?
It needs strong light and often does best with direct or near-direct sun indoors, but it should be moved into stronger sun gradually so the leaves do not scorch.
When should I repot aloe vera?
When roots are crowding the pot, pups are filling the container, or the current mix is staying wet too long. Move up modestly, not into a giant new pot.
Is aloe vera safe for cats and dogs?
No. Keep it out of reach if pets chew plants.
Aloe vera rewards patience more than fussing. Give it strong light, a fast-draining mix, and time to dry properly between waterings, and it will usually tell you very clearly when it is happy.
Download KnowYourPlant to track your aloe’s care routine, set personalized reminders for watering and fertilizing windows, and get a clear next step when something looks off.