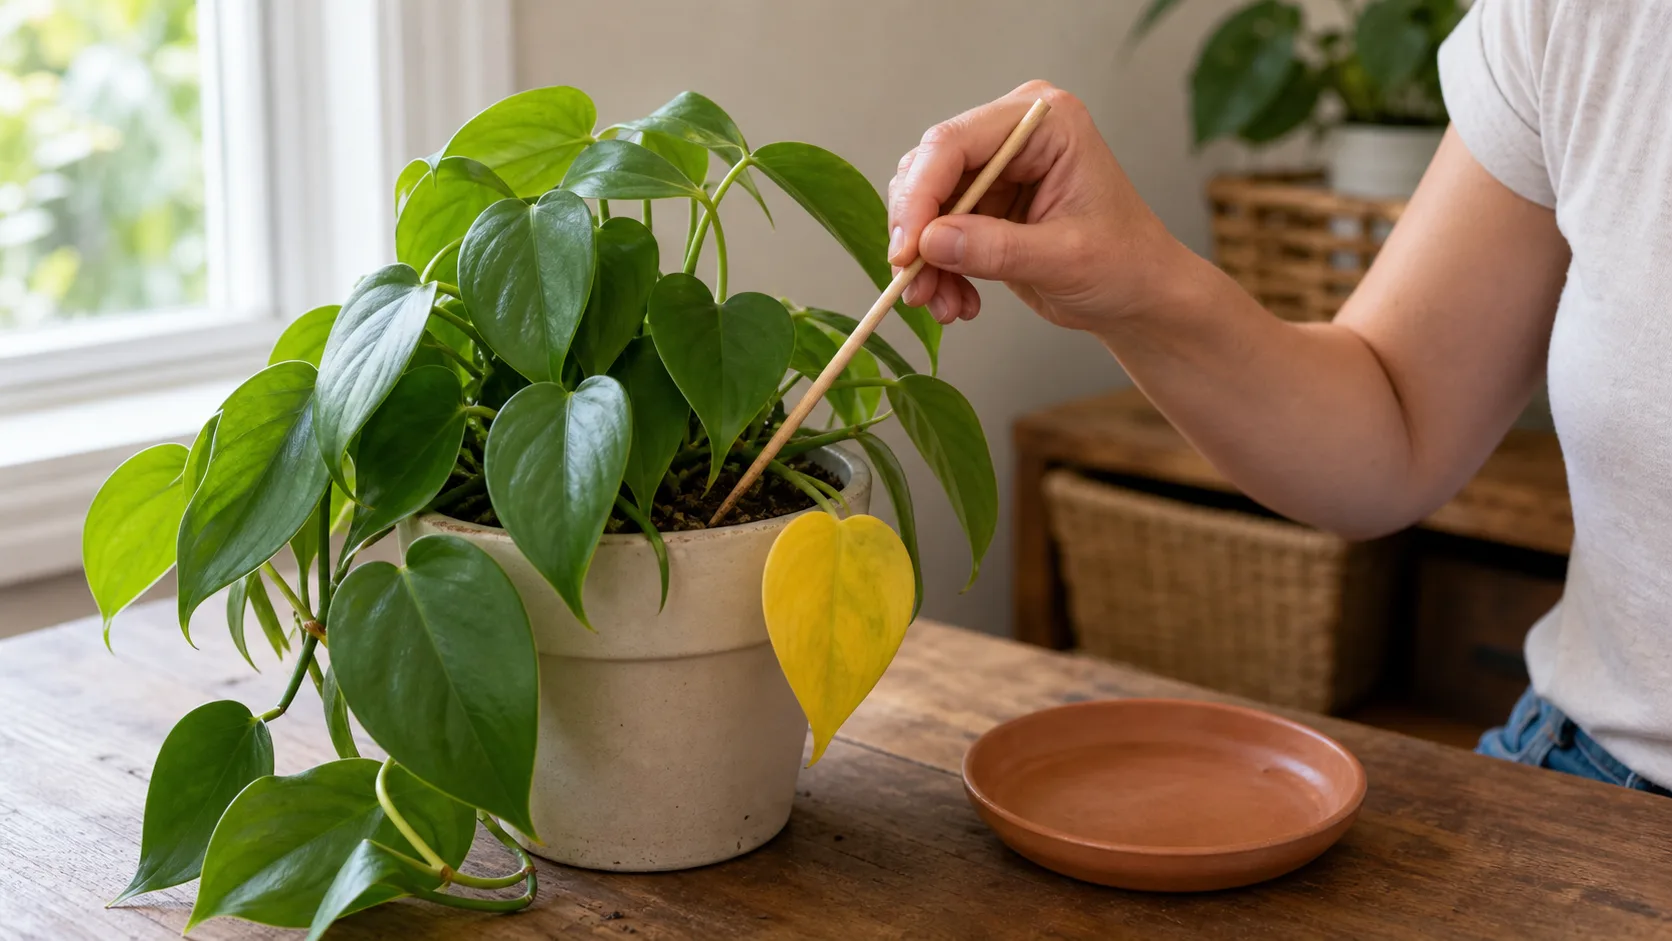
Most philodendron yellow leaves follow one of three common paths: one old leaf is aging out, the roots are staying wet too long, or the plant is in light too dim for its current watering routine. You can sort those paths quickly by checking which leaf changed first, how damp the mix is 2 to 3 inches down, and whether new growth still looks healthy.
A genuinely bone-dry root ball, pests, temperature stress, or a fertilizer problem can also cause yellowing, but they need supporting signs. A fully yellow leaf will not become green again, so the goal is to prevent the next leaf from yellowing.
Do This First Today
| What you find | Immediate safe action |
|---|---|
| One oldest lower leaf is yellow, while the rest looks firm | Keep care steady. Do not repot or add fertilizer for that leaf alone. |
| Several leaves are yellow and the soil is wet below the surface | Stop watering, empty trapped runoff, and check that drainage holes are open. |
| The root ball is genuinely bone-dry | Water slowly across the whole surface, let excess drain, then check whether the center became moist. |
If you are not certain the plant is a philodendron, confirm its identity first. Look-alike plants can differ in light needs, growth habits, and safe handling.
Start With the Pattern, Not the Color
The University of Maryland Extension recommends examining the pattern of yellowing rather than assuming insects or disease from color alone.
Use the whole plant:
- One old bottom leaf, normal drying, healthy new growth: natural aging is likely.
- Several lower leaves plus wet mix: investigate slow drying, drainage, and roots.
- Long stem gaps, small leaves, and slower drying: low light may be contributing.
- A light pot with dry mix several inches down: true drought is more likely.
- Sticky, scarred, webbed, or distorted young growth: inspect carefully for pests.
- Pale young leaves without pest signs: review roots, light, temperature, and fertilizer history.
Myth: A yellow leaf does not tell you that the plant needs water. Check the soil first.
Myth: Yellow color alone does not prove a nutrient deficiency. Check roots, light, and pests before feeding.
The One-Minute Inspection
Do this before changing the plant’s care.
1. Find the first affected leaf
Trace the yellow leaf to its stem. Is it the single lowest, oldest leaf, or are several leaves changing?
Firm upper leaves and a normally opening new leaf support natural turnover. Yellowing that reaches younger leaves, appears on several leaves together, or comes with stalled growth needs a closer look.
2. Check below the surface
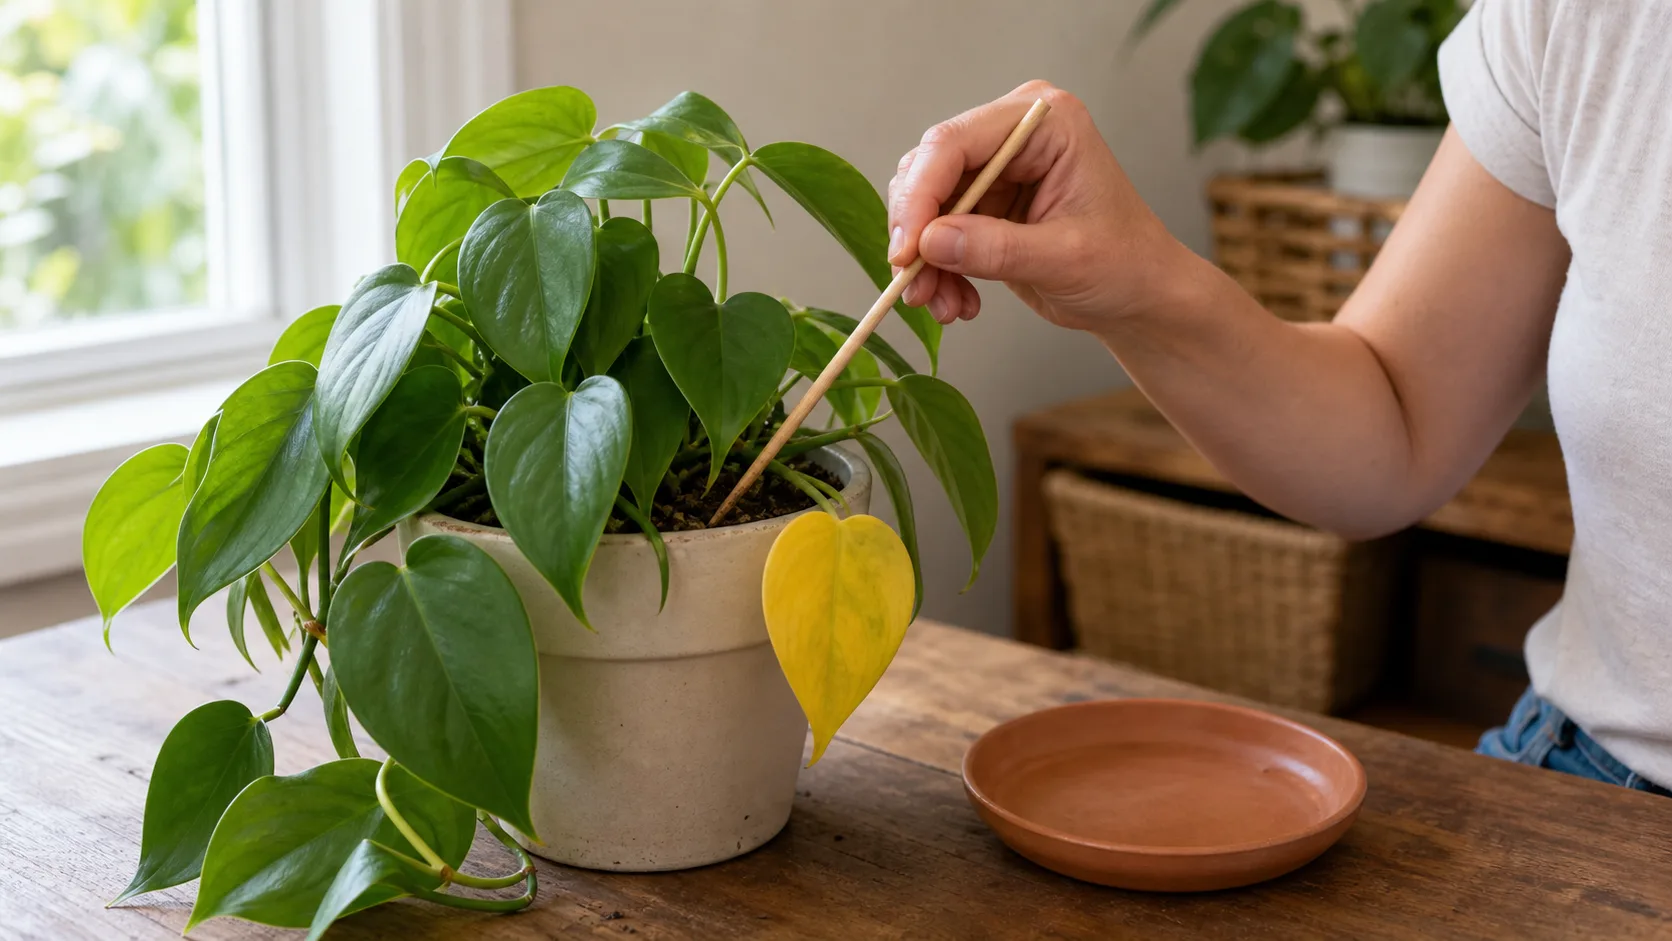
A dry surface does not mean the root ball is dry. Insert a finger, unfinished wooden skewer, or chopstick about 2 to 3 inches, or 5 to 8 cm, into the mix. Check more than one spot in a large pot.
- A mostly clean, dry skewer suggests that the checked area is dry.
- Cool mix clinging to it means moisture remains.
- Muddy mix, combined with a cold and heavy pot, means watering should wait.
The depth is a practical checkpoint, not a rule for every pot. In a small container, check carefully without damaging roots. In a deep pot, the bottom may remain wet even when the upper few inches feel dry.
3. Check drainage and pot weight
Confirm that drainage holes are open and the plant is not sitting in runoff inside a saucer or decorative cover. If you can lift the pot safely, compare its weight with how it feels near watering time.
Soil still being damp several days after watering is not automatically a problem. It matters when the pot is staying wet noticeably longer than it usually does, especially after a move to lower light or cooler conditions.
4. Examine new growth
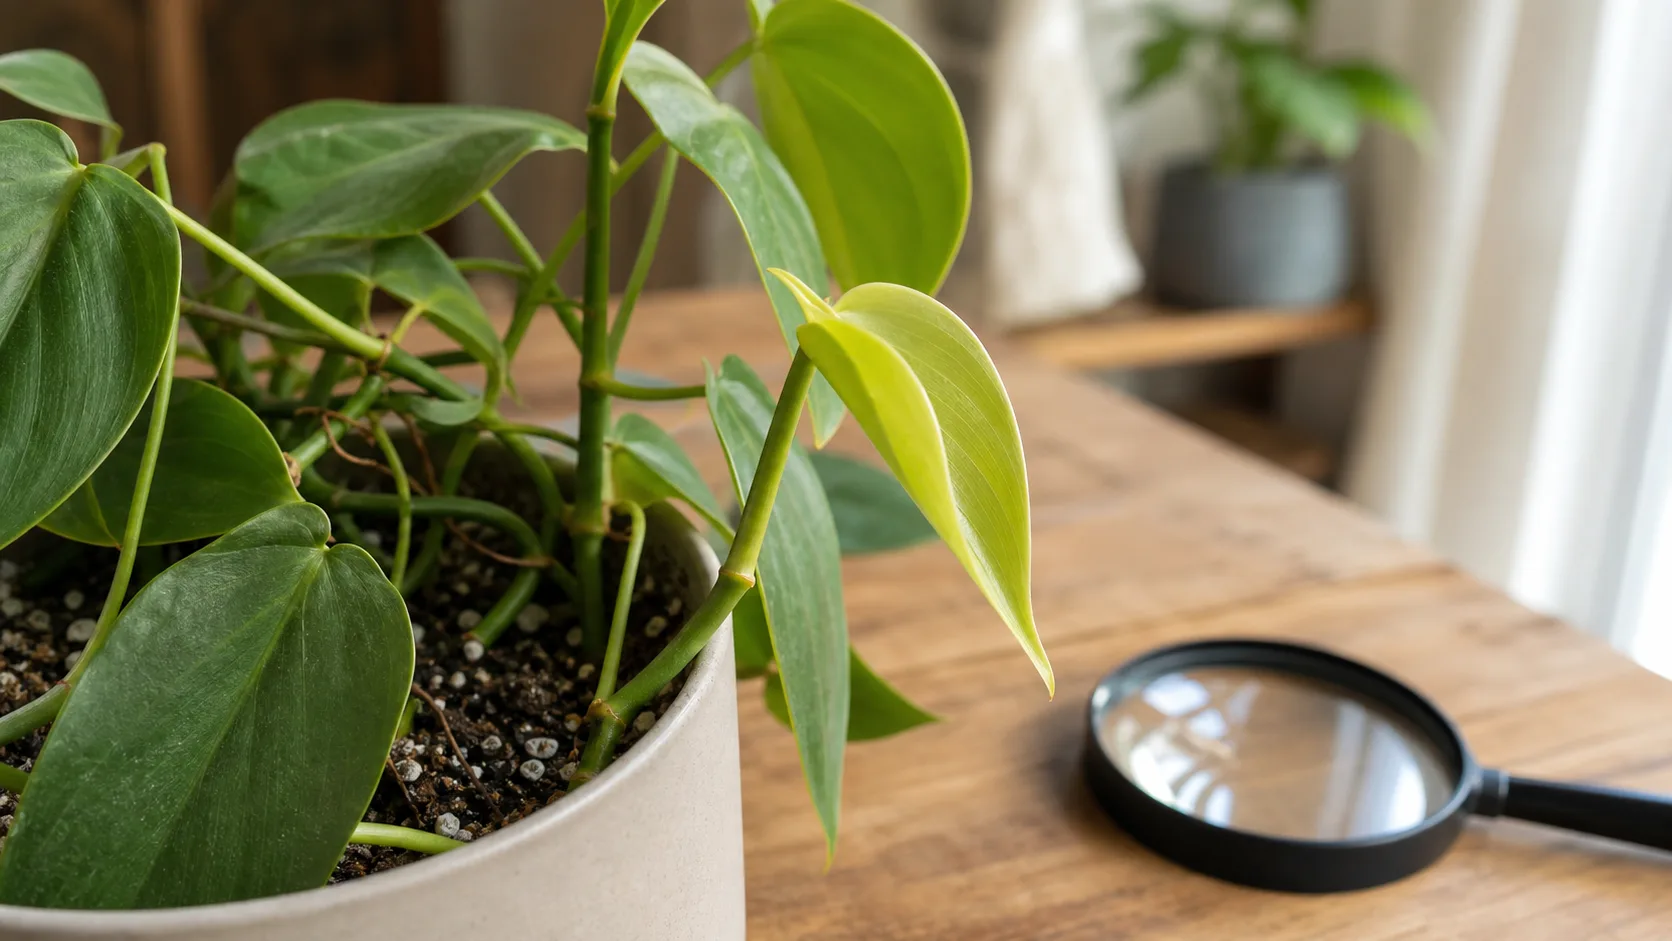
Check the newest leaf and growing tip. One difficult unfurl is not proof of pests. Repeated twisting, scarring, browning, or damage on each new leaf makes a pest or broader care problem more likely.
5. Look for physical pest signs
Inspect both leaf surfaces, veins, stem joints, folded leaves, the pot rim, and the area below the plant. Look for moving insects, fine webbing, sticky residue, cottony clusters, attached bumps, pale stippling, silvery scars, or black specks.
Quick Triage Table
Match several clues, not one symptom.
| Pattern | What the soil and plant show | Likely direction | First step |
|---|---|---|---|
| One oldest leaf yellows slowly | Normal drying, firm growth, no odor | Natural aging | Keep care stable |
| Several lower leaves yellow | Mix stays wetter than usual | Slow drying or root stress | Pause watering and check drainage |
| Yellowing comes with stretched growth | Smaller leaves and slow drying | Low light plus excess moisture | Increase indirect light gradually |
| Yellowing follows severe dryness | Pot is light and dry below the surface | Drought or uneven watering | Water thoroughly once and drain |
| Young leaves are scarred or distorted | Stickiness, webbing, bumps, or insects | Pest pressure | Isolate and identify |
| Yellowing spreads with a sour smell | Wet mix, soft base, or damaged roots | Root decline | Inspect roots promptly |
| Pale dry patches face the window | Soil behavior seems normal | Direct sun or heat stress | Move back from harsh sun |
An Ordered Decision Tree
Follow these branches in order and stop when the signs support a safe action.
1. Is only one oldest lower leaf yellow?
Natural aging is the leading explanation when the upper foliage is firm, new growth is opening normally, the pot dries at its usual pace, and no second leaf starts changing quickly.
Let the leaf finish yellowing. Then cut its petiole with clean scissors or remove it when it releases easily. Avoid tearing a firmly attached leaf. Keep sap away from eyes, children, and pets.
If several leaves are changing, continue to the next branch.
2. Are several lower leaves yellow while the mix remains wet?
Pause watering. Philodendron roots need both moisture and air. Dense or constantly wet mix can limit air around the roots and interfere with normal uptake.
Clemson Cooperative Extension recommends evenly moist but not soggy soil. It identifies poor drainage and frequent watering as root-rot risks and lists both low light and overwatering among possible causes of yellow lower leaves.
Ask what changed:
- Is the plant watered by calendar rather than by a soil check?
- Is runoff trapped in a saucer or cover pot?
- Is the container much larger than the root mass?
- Has the mix become dense or muddy?
- Did the plant move farther from a window?
- Has the room become cooler or darker?
If the plant remains firm and the mix smells normal, let it dry before watering again. Do not pull apart healthy roots merely because the soil is damp.
Inspect the roots now if yellowing spreads over a few days, the plant collapses while wet, the stem base softens, or the pot smells sour. Use the root rot treatment guide if roots are soft, hollow, slimy, or clearly decayed.
3. Is the plant stretching, leaning, or making smaller leaves?
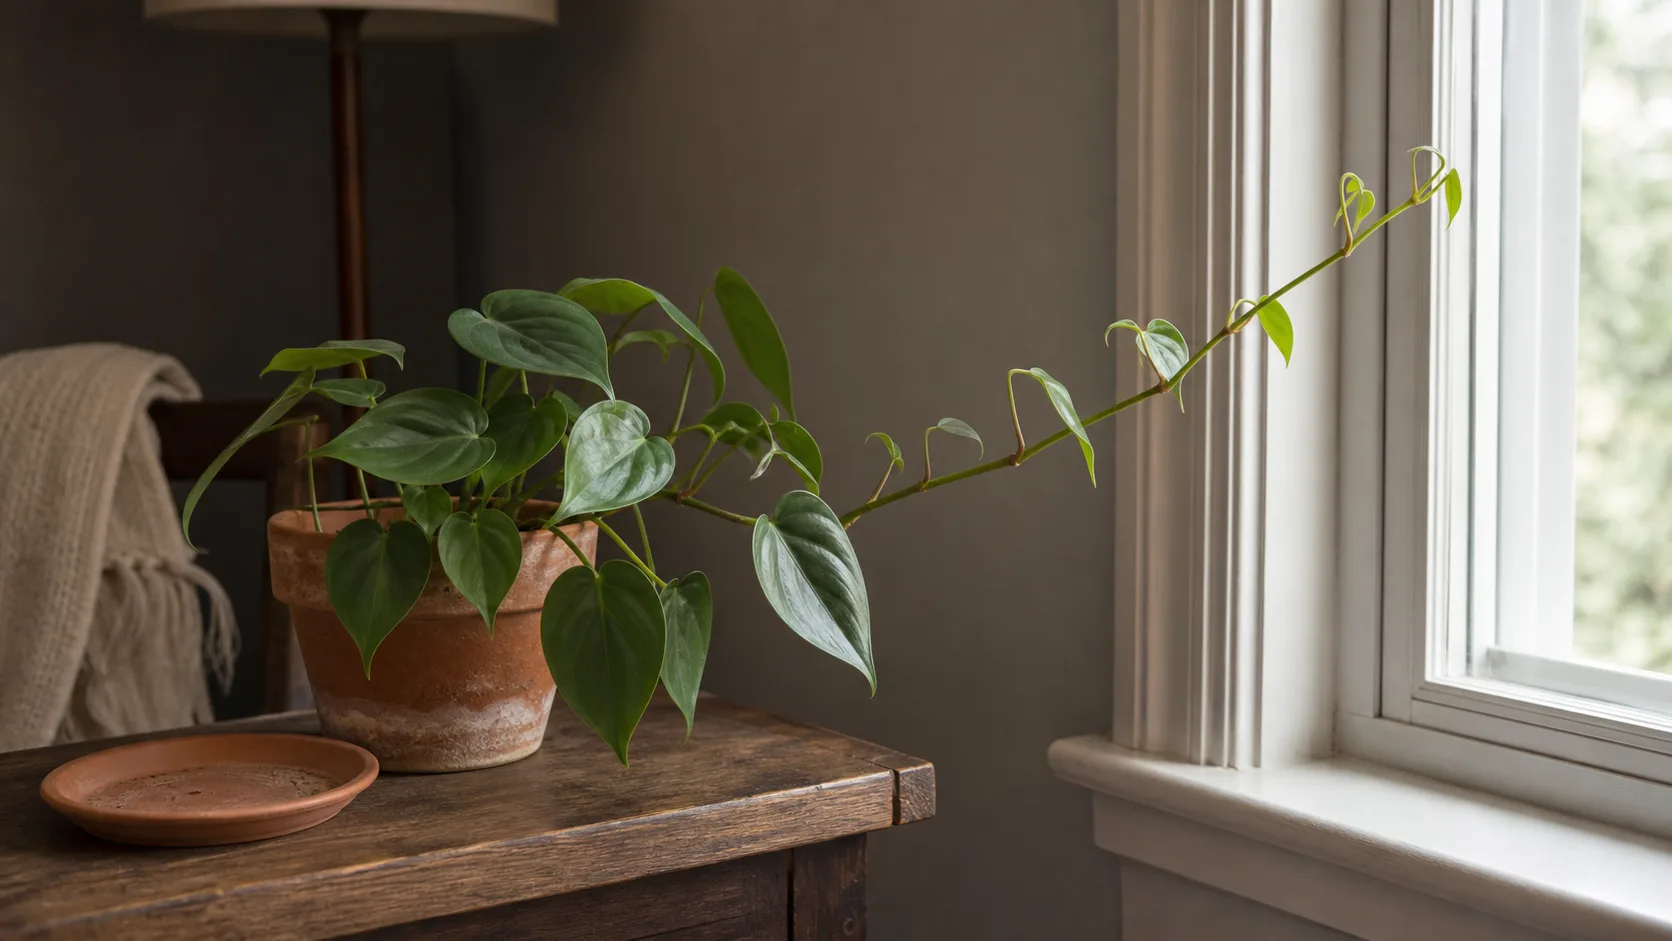
Low light may be contributing. A plant growing slowly uses water more slowly, so the routine that worked near a bright window may keep it wet after a move to a dim room.
Useful clues include long spaces between leaves, growth leaning toward a window, smaller new leaves, slow unfurling, and a longer drying time than the plant’s usual pattern.
Bright indirect light generally means a place near a bright window where the plant receives strong daylight but does not sit in hot direct sun for hours. You should be able to read comfortably there during the day, and the plant may cast a soft rather than sharply defined shadow. A sheer curtain can soften strong midday or afternoon sun.
Move the plant closer to suitable light in stages. If natural light is limited, see the indoor grow-light guide.
4. Is the root ball truly dry?
Do not judge from the surface alone. Drought is more convincing when the pot feels light, the mix is dry 2 to 3 inches down and farther into the pot, the plant drooped before yellowing, or water runs around a shrunken root ball without soaking in.
To rehydrate evenly:
- Water slowly across the whole surface.
- Continue until water exits the drainage holes.
- Let the pot drain completely.
- Empty the saucer or cover pot.
- Recheck the center after a short pause.
- If the center remains dry, make another slow pass.
Very dry peat-based mix can resist water at first. Do not leave the plant standing in water for days. The indoor plant watering guide explains why light, pot size, mix, roots, and season change drying time.
5. Are young leaves sticky, scarred, or distorted?
Inspect for pests before adding fertilizer. The University of Minnesota Extension recommends checking both leaf surfaces, containers, and sticky residue. NC State Extension notes that philodendrons can be affected by spider mites, mealybugs, scale, and aphids. Damaged new growth also warrants a careful check for thrips.
If you find pest signs:
- Separate the plant from nearby plants.
- Inspect its neighbors and folded new growth.
- Identify the pest before choosing a treatment.
- Clean sticky residue so new deposits are easier to spot.
- Follow the current product label exactly.
Do not combine pest treatments as a precaution. Match the signs to the houseplant pest guide first.
6. Are young leaves pale, but moisture and pests look normal?
Review light, root health, temperature changes, fertilizer use, and mineral buildup. Penn State Extension lists several possible causes of pale or yellow young leaves, including low light, micronutrient problems, and overfertilization.
Consider nutrition only after roots, drainage, light, and pests have been checked. If the clues still conflict, use a symptom check to organize what you found before changing several parts of care.
Wet Roots vs Low Light vs Natural Aging
These can overlap. Low light often leads to wetter soil because the plant grows and uses water more slowly.
| Sign | Natural aging | Wet roots | Low light |
|---|---|---|---|
| Leaf position | Usually one oldest lower leaf | Often several lower leaves | Older leaves plus weak new growth |
| Drying pattern | Normal for that plant | Wetter longer than usual | Often slows after a darker move |
| Plant texture | Other foliage stays firm | Leaves may soften or collapse | Foliage may stay firm while growth weakens |
| New growth | Continues normally | Slows or stalls | Smaller leaves, long gaps, leaning stems |
| Roots | Firm, normal earthy smell | May become soft, hollow, or sour-smelling | Can remain healthy unless the soil also stays wet |
| First action | Keep care steady | Pause watering and check drainage | Add indirect light and reassess watering |
If wet roots and low light both fit, empty trapped water first, allow appropriate drying, and improve light gradually. Do not move a stressed plant directly into strong sun.
A Low-Disturbance Inspection Ladder
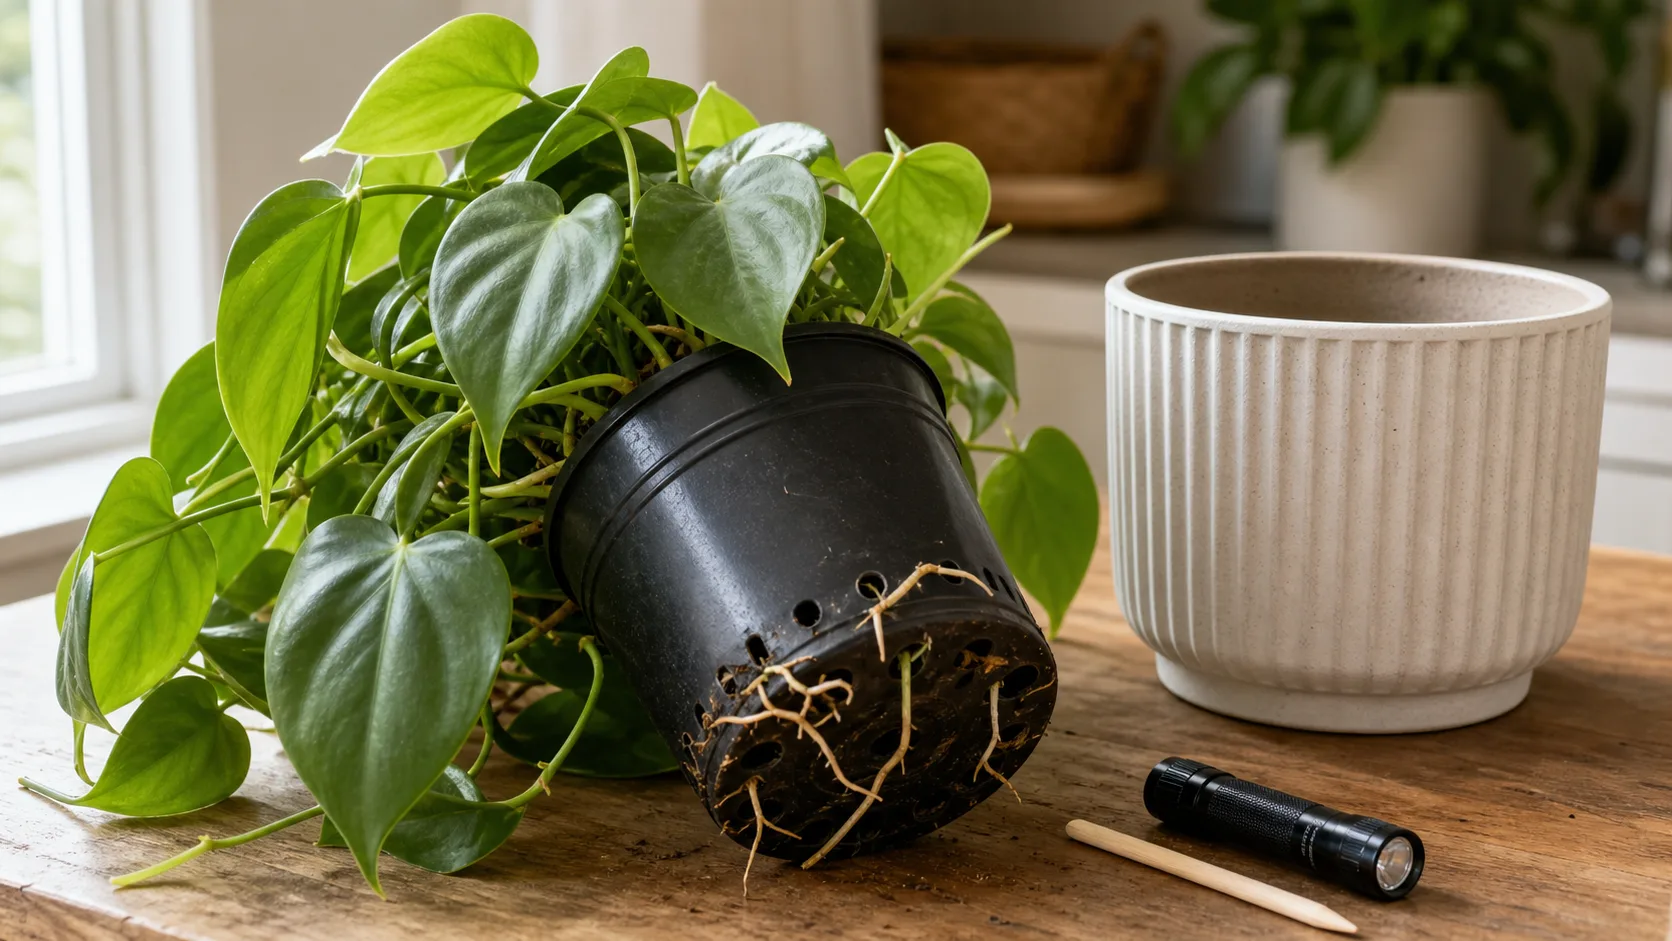
Start with the least disruptive check:
- Observe the leaves: Note their age, position, number, and new-growth health.
- Check the mix: Test below the surface, lift the pot, and inspect trapped runoff.
- Review the setting: Look for a recent move, reduced daylight, cold drafts, or slower drying.
- Inspect for pests: Check leaves, stems, folded growth, and the pot under bright light.
- Check visible roots: Look through drainage holes without pulling the plant apart.
- Slide out the root ball only when needed: Spreading yellowing, collapse in wet soil, a soft base, or sour odor justifies the disturbance.
Safe Corrective Actions
For one aging leaf
Keep placement and watering stable. Remove the leaf after it becomes fully yellow, then watch whether another leaf begins changing.
For soil that stays wet
Stop watering until the surface has dried and the mix 2 to 3 inches down is no longer saturated. Empty standing water and clear blocked drainage holes. Check whether the plant now receives less light than it did when its routine was established.
Do not wait for a fixed number of days. Compare the current drying time with the plant’s own usual pattern.
For damaged roots
Slide the root ball out gently. Healthy roots are firm and may be cream, tan, or brown. Decayed roots tend to be soft, hollow, slimy, or unpleasant-smelling.
Trim only clearly damaged tissue with clean tools. Repot into fresh, airy mix in a draining container that fits the remaining root mass. The plant repotting guide covers container choice and recovery care.
For true drought
Water the whole root ball slowly and drain it fully. If water races down the pot walls, pause and repeat. Return to checking the mix rather than giving frequent small sips.
For insufficient light
Move the plant closer to a bright window with filtered light. Increase exposure gradually and watch window-facing leaves for pale, dry scorch patches.
For a possible nutrient problem
Feed only when roots are firm, drainage and light are suitable, pests are absent, and watering is consistent. Follow the fertilizer label rather than guessing a stronger dose.
Do not fertilize suspected root rot or newly repotted plants in pre-fertilized mix. White crust on the soil, pot, or tray can suggest salt buildup. See the houseplant fertilizer guide before adding more.
Make One Change, Then Observe
Choose the safest change supported by what you found. A 7 to 14 day observation window is useful for many stable plants, but it is not a reason to wait when red flags are present.
Judge recovery by the green parts, not the leaf that is already yellow. Improvement can look like:
- no additional yellow leaves
- firm stems and a firm plant base
- a return toward the plant’s usual drying pattern
- normal unfurling
- no new stickiness, webbing, or scarring
- no sour smell
Healthy new growth and normal leaf spacing may take several weeks, especially after root loss or during slower seasonal growth.
Red Flags That Need Faster Action
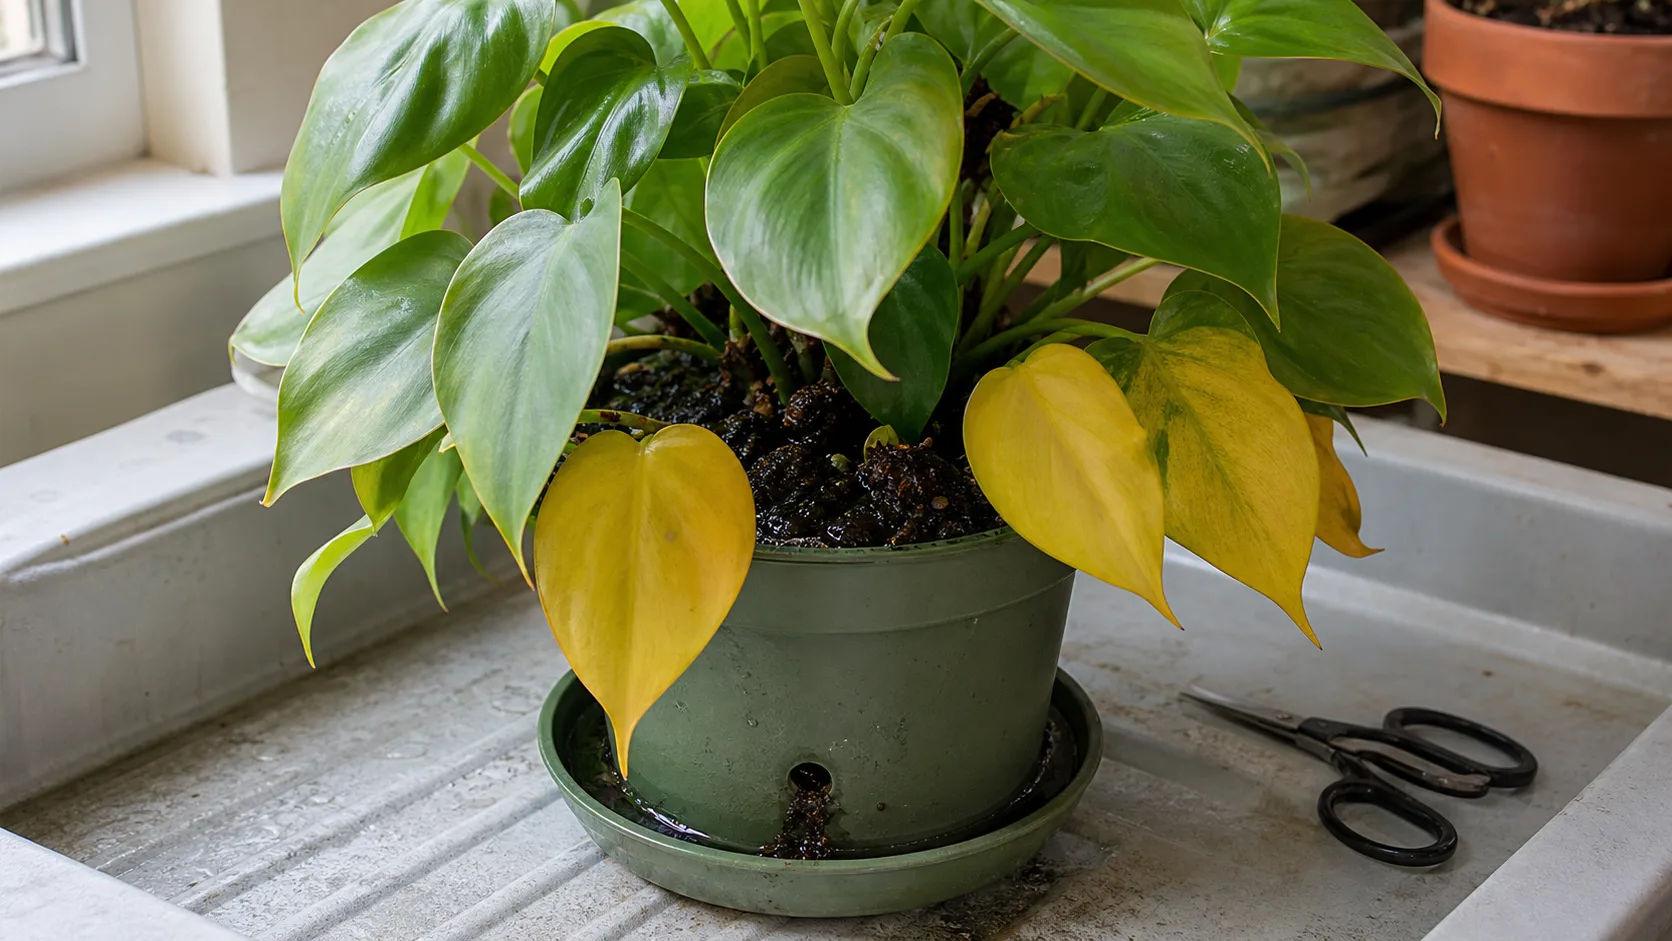
Inspect roots or pests promptly if you find:
- several leaves changing within days
- collapse while the mix is wet
- a soft or darkening stem base
- sour or rotten odor
- soft, hollow, or slimy roots
- widespread insects, webbing, cottony clusters, or scale
- repeated damage on each new leaf
- sudden decline after cold exposure or intense direct sun
Is This Philodendron a Fit for Your Light and Routine?
A philodendron is a reasonable fit if you have a bright indoor location without hours of harsh direct sun, a pot that drains, and a routine that allows you to check the soil rather than water automatically.
Once the yellowing is stable, use the complete philodendron care guide to set the plant’s ongoing light, watering, soil, feeding, and repotting routine.
Think twice about the setup if the only available spot is a dark corner, the decorative pot cannot release water, or you need a plant that can be watered on the same day every week without checking it. Many philodendrons tolerate lower light, but slower growth and slower drying leave less room for frequent watering.
Your conditions do not need to be perfect. The useful question is whether you can provide enough light for steady growth and adjust watering when seasons or placement change.
Common Mistakes
Watering because the leaf is yellow
Leaf color does not reveal moisture. Check below the surface first.
Trusting the dry top layer
The middle and bottom of the pot can remain wet long after the surface dries.
Watering every week
Water use changes with light, temperature, pot size, roots, mix, and season. Check the plant, not just the calendar.
Repotting for one old leaf
One bottom leaf with healthy growth does not justify disturbing the roots.
Moving directly into strong sun
A dim plant may benefit from brighter indirect light, but sudden hot sun can add scorch.
Fertilizing from color alone
Fertilizer cannot repair roots that lack air or have begun to decay.
Changing everything at once
Simultaneous watering, repotting, feeding, and relocation make the response harder to interpret and can add stress.
Frequently Asked Questions
Should I cut yellow leaves off my philodendron?
Remove a leaf once it is fully yellow. Cut the petiole with clean scissors or wait until it releases easily. Removal improves appearance but does not correct the cause.
Can a yellow philodendron leaf turn green again?
A fully yellow leaf generally will not recover. Success means the yellowing stops, the remaining foliage stays firm, and new leaves develop normally.
How do I know if my philodendron is overwatered?
Look for several signs together: wet mix below the surface, a pot staying heavy longer than usual, multiple yellow lower leaves, soft growth, or trapped runoff. Sour odor, a soft base, and decayed roots suggest more serious damage.
How often should I water a philodendron?
There is no dependable universal interval. Check the surface and the mix 2 to 3 inches down. Water when the checked area has dried appropriately for the plant and pot, then soak evenly, drain the excess, and empty the saucer.
Does one yellow bottom leaf mean root rot?
No. One oldest leaf with firm growth and normal drying is often natural aging. Root rot becomes more likely when yellowing spreads, wet mix smells sour, roots soften, or the plant base declines.
Methodology and Sources
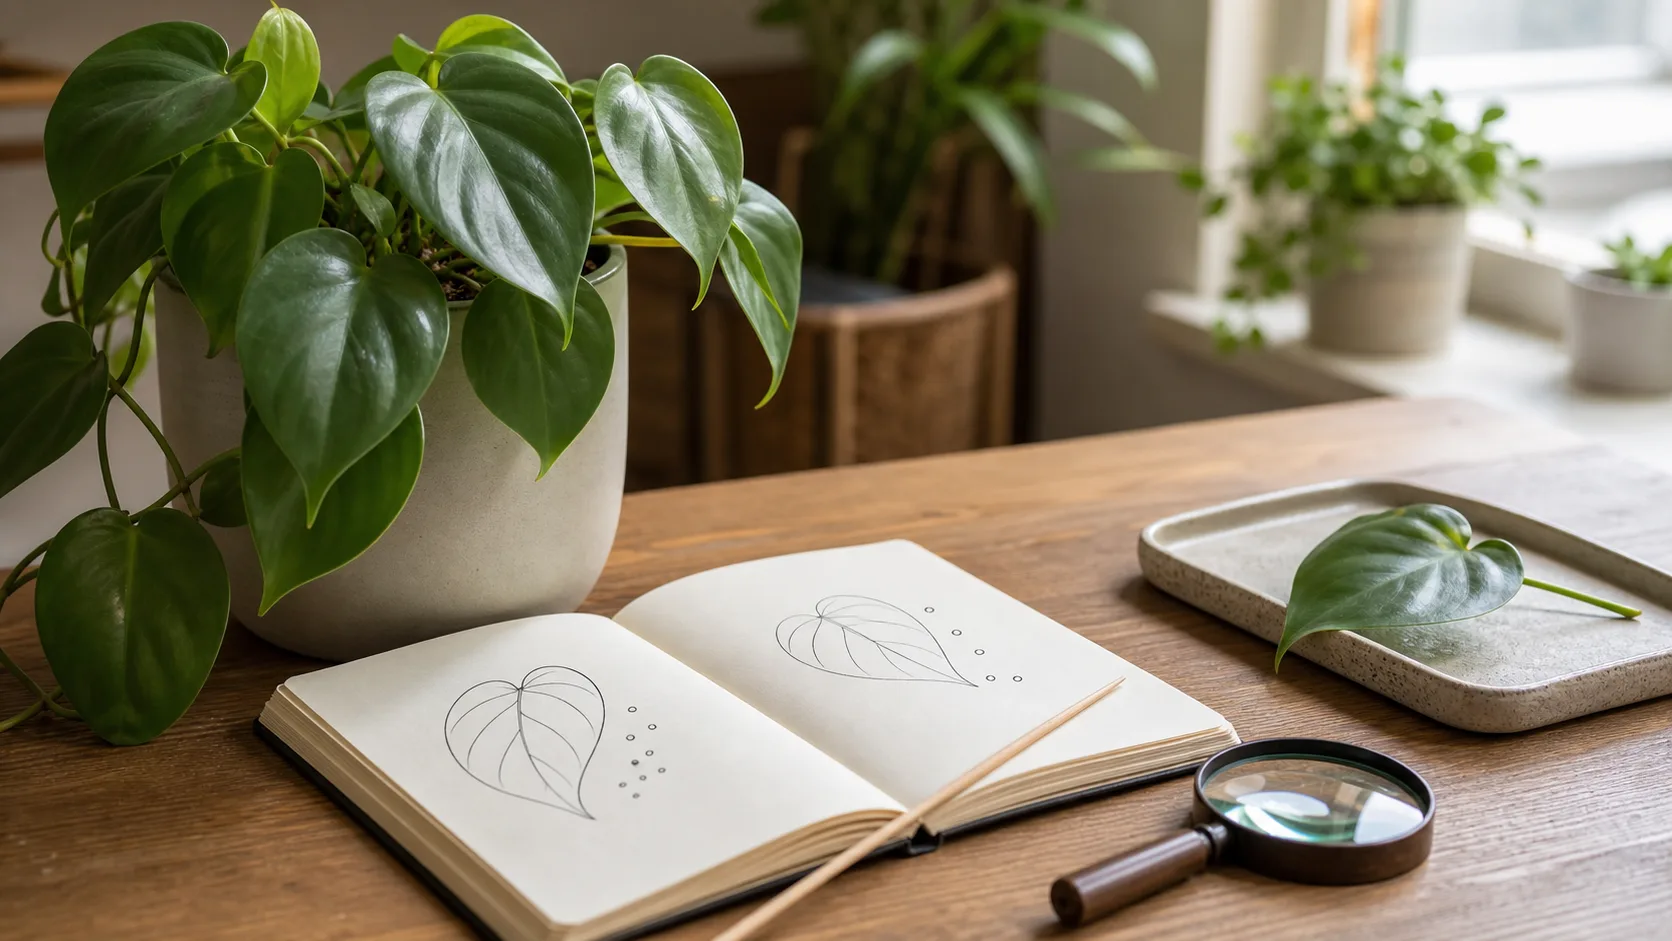
The KnowYourPlant editorial team built this guide around a diagnosis-first sequence: leaf position, moisture below the surface, drainage, root condition, recent light changes, pests, and new-growth health.
Care and diagnostic claims were checked against:
- Clemson Cooperative Extension: Philodendron, Pothos, Monstera
- NC State Extension: Philodendron hederaceum
- NC State Extension: Philodendron erubescens
- University of Maryland Extension: Yellowing Leaves on Indoor Plants
- Penn State Extension: Diagnosing Poor Plant Health
- University of Minnesota Extension: Managing Insects on Indoor Plants
Plant-owner discussions were reviewed qualitatively to understand common confusion around aging leaves, brittle leaf drop, sticky residue, and damaged new growth. They were not treated as proof of a cause, treatment result, or prevalence.
Freshness note: Care guidance and source availability were checked on July 19, 2026. Follow current pesticide and fertilizer labels, and adjust care for the variety, potting system, indoor climate, and season.
Next step: Check which leaf yellowed first and test the mix 2 to 3 inches down today, then use KnowYourPlant to build a personalized care plan or set a watering reminder from what you found.
If you are troubleshooting another common plant symptom, see Pothos Leaves Curling: Dry Soil, Heat, or Root Stress? for a focused diagnosis and recovery plan.