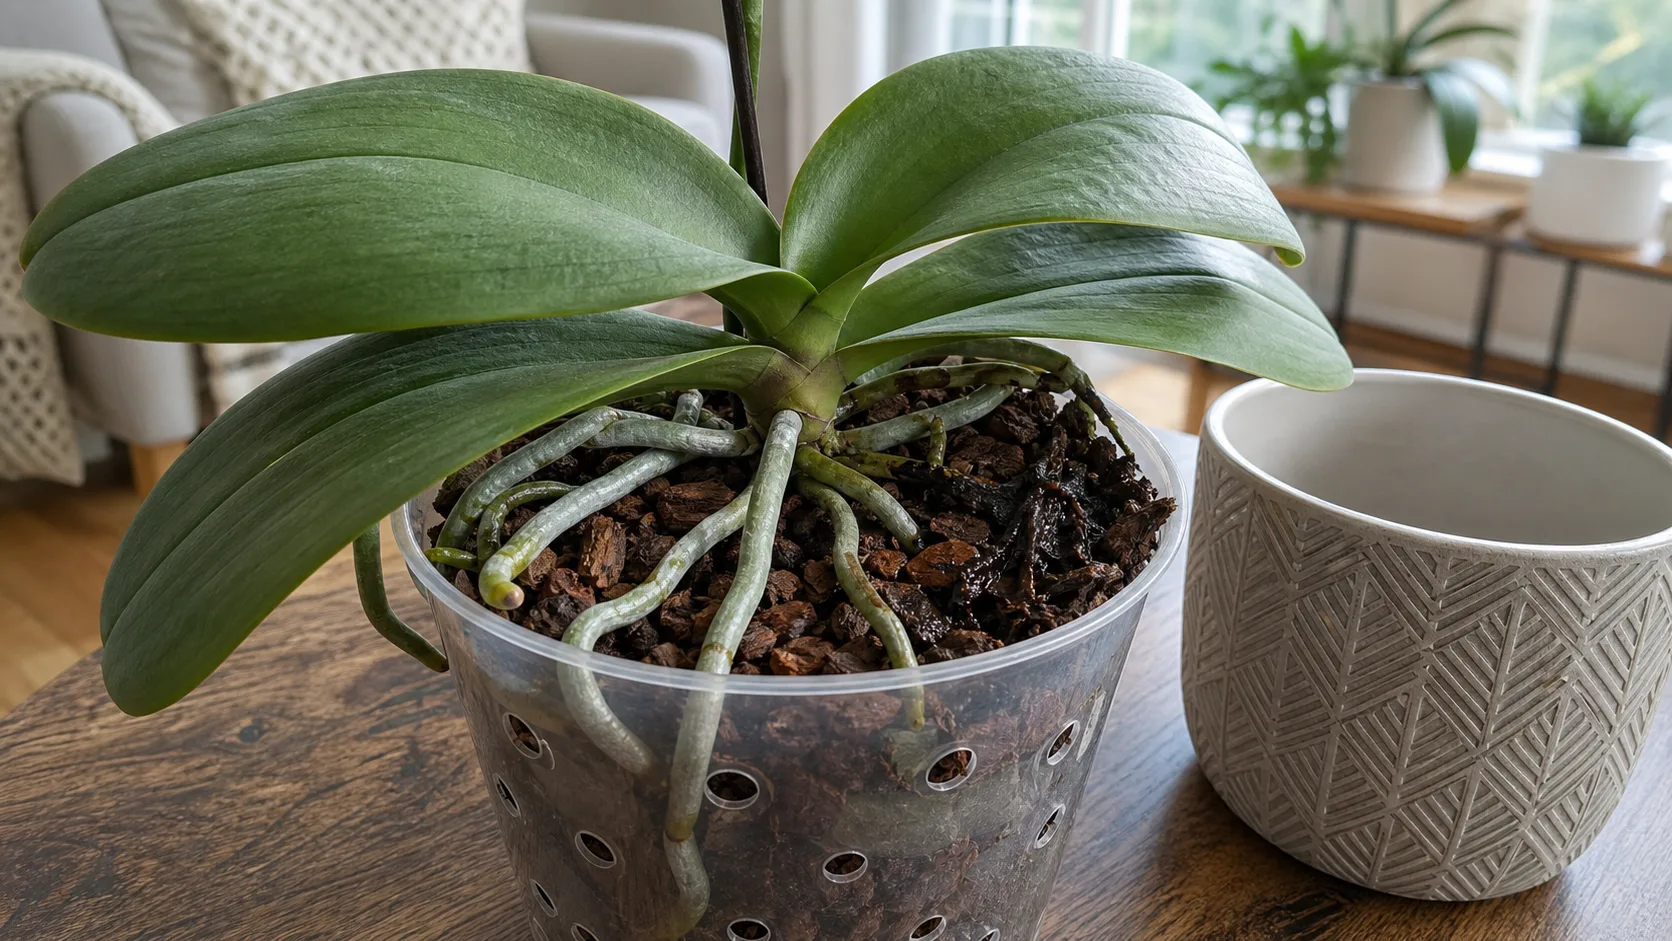
You lift your orchid from its cover pot and find brown roots, wet bark, and leaves that somehow look thirsty. It is a horrible little contradiction: she seems dehydrated, but adding more water may be the thing making her worse.
Orchid root rot is the collapse of damaged root tissue, leaving roots soft, hollow, or unable to move enough water into the orchid. That is why wrinkled leaves can appear while the pot is still damp. The rescue is not simply “water less.” You need to find out which roots still work, remove only the failed tissue, and fix whatever kept the root zone wet.
Use the first check below before reaching for scissors. A firm brown root may still be useful, especially when your orchid has only a few roots left.
Record what the roots feel like, how long the bark stays damp, and which leaves changed first. Those details make future care much less guessy.
One-Minute Orchid Root Rot Triage
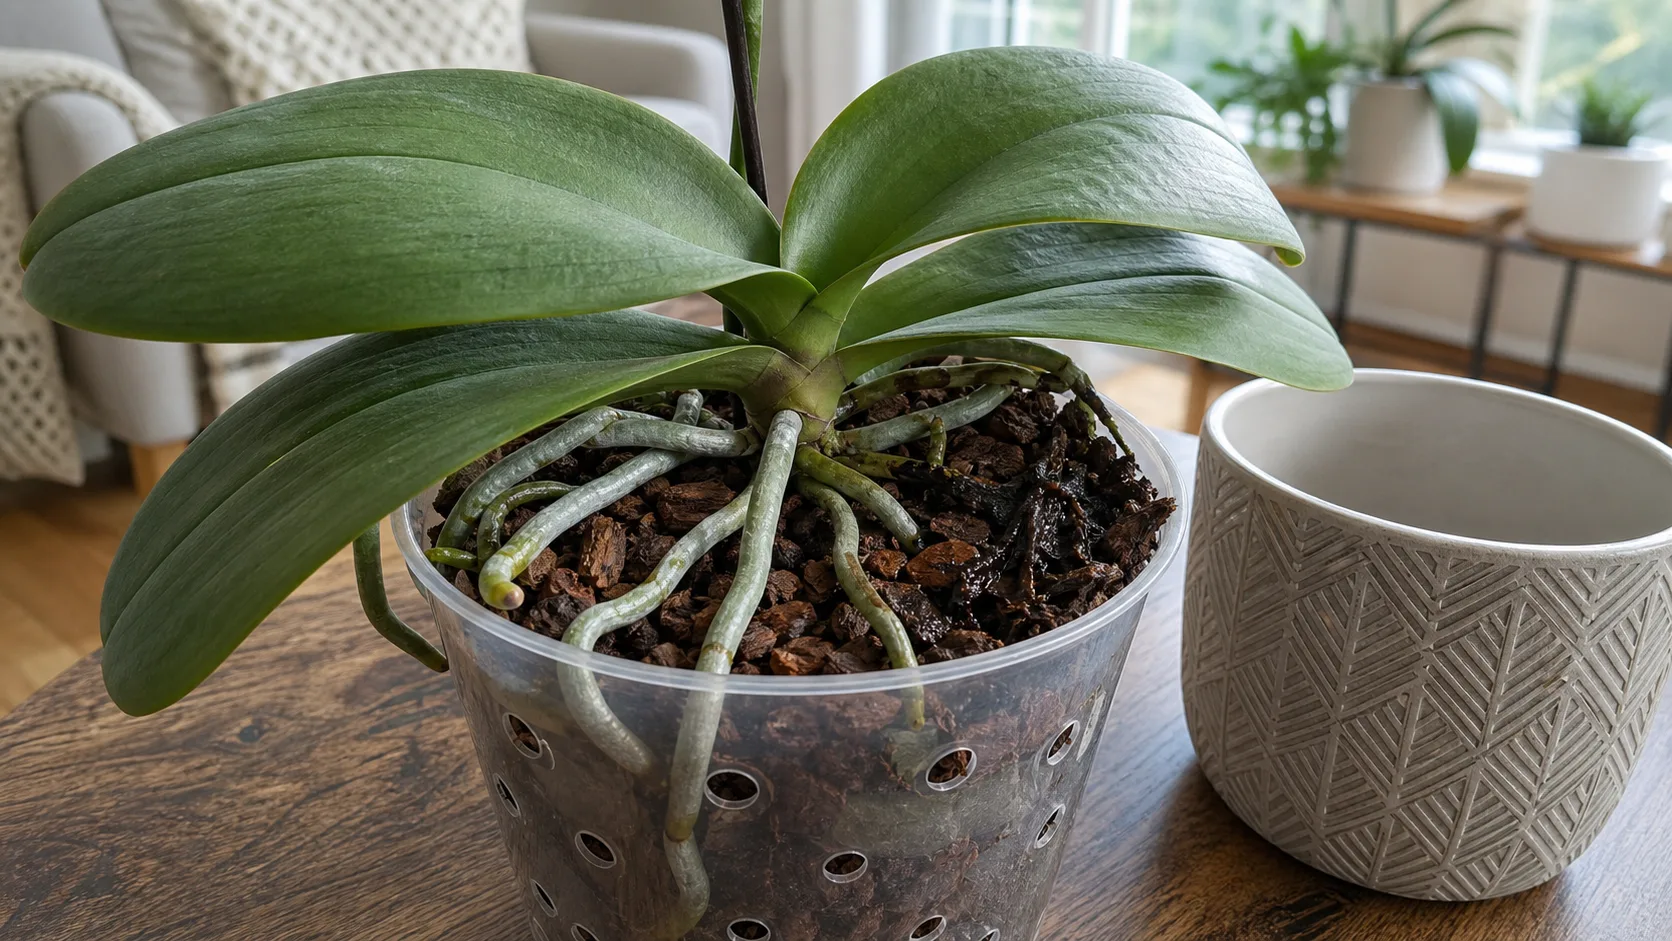
If your orchid is in a transparent pot, start without disturbing her. Look through every side, lift the inner pot from its decorative cover, and check these five signals.
| Check | Reassuring sign | Concerning sign | Your next move |
|---|---|---|---|
| Visible roots | Mostly plump and silver, green, cream, or tan | Several roots are dark, collapsed, or pressed flat | Unpot today if the damage is widespread |
| Root texture | Firm when gently pinched | Mushy, hollow, or the outer layer slips away | Trim the failed section after unpotting |
| Bark or moss | Chunky, airy, and drying between waterings | Crumbly, compacted, sour, or wet deep in the pot for days | Replace it with fresh orchid medium |
| Crown and stem base | Firm, dry, and evenly colored | Soft, blackening, yellow-brown, or collapsing | Isolate the orchid and treat this as urgent |
| Smell | Earthy bark or almost no smell | Sour, swampy, or rotten smell | Unpot, inspect, trim, and repot |
Here is the shortest decision rule:
- Wait and monitor if the roots are firm, the medium smells normal, and the pot is drying predictably.
- Unpot today if several roots look collapsed, the medium stays soggy, or there is a sour smell.
- Trim only tissue that is mushy, hollow, or structurally broken.
- Repot if the medium has decomposed, the pot lacks drainage, or the remaining root mass no longer fits the pot.
- Take urgent action if softness or discoloration is spreading into the crown, stem, rhizome, or pseudobulb.
Do not let one brown root turn this into a midnight pruning session. Color starts the inspection. Texture decides what happens next.
What Most Care Guides Miss
The common misdiagnosis is brown root equals rotten root. Orchid roots can look brown because bark has stained them, because they are older, or because wet roots naturally appear darker. A healthy dry Phalaenopsis root is often silver, while the same root may turn green after watering.
Generic advice to “cut off every brown root and stop watering” is incomplete for two reasons. First, it can remove roots that still work. Second, it does not fix compacted medium, trapped water, low light, or poor airflow.
The practical first check is a three-point pinch test. Gently press the root near its base, in the middle, and near the tip.
- If all three areas remain firm and the outer covering stays attached, keep the root.
- If one section is mushy but the rest is firm, remove only the failed section.
- If the covering slides off and leaves a thin internal thread, that section is no longer functioning normally.
- If the tip is green and growing, be especially conservative. An active tip is a strong reason to preserve firm tissue behind it.
This is the article’s minimum-safe-intervention rule: make the smallest cut supported by texture and structure, not the largest cut suggested by color.
Symptom Diagnosis Card: What Kind of Root Is It?
The spongy outer covering on many orchid roots is called velamen. You do not need to remember that word to assess it. You only need to notice whether the covering feels plump and attached or empty and loose.
| Root appearance | How it feels | What it usually means | Keep, monitor, or cut |
|---|---|---|---|
| Silver root | Firm and rounded | Healthy root that is dry or approaching dryness | Keep |
| Green root | Firm and plump | Hydrated, functioning root | Keep |
| Cream, yellow, or pale root | Firm, with its outer layer attached | Often a healthy root that developed away from light | Keep |
| Tan or brown root | Firm, no sour smell | Older or bark-stained root, not automatically rot | Keep and monitor |
| Hollow root | Flat, papery, or string-like | Dead root with little useful tissue left | Remove |
| Mushy brown or black root | Soft, slippery, or collapsing | Active decay or severe tissue failure | Cut back to firm tissue |
| Mixed root with a green tip | Firm near the active tip, damaged elsewhere | Partly viable root | Preserve every firm section you reasonably can |
A wrinkled leaf does not settle the diagnosis. The American Orchid Society’s guidance on leathery leaves explains that an orchid with lost roots cannot absorb water, regardless of how much water is added. Always inspect the roots before treating wrinkles as simple thirst.
Why Orchid Roots Rot Even When You Do Not Water Often
“Overwatering” sounds like a frequency problem, but the better question is: How long does water remain around the roots?
The American Orchid Society’s watering guidance describes overwatering as medium that does not dry fast enough. Frequent watering can cause that, but so can low light, limited airflow, high humidity, cool conditions, or a pot that holds more moisture than the orchid can use.
Common setups behind orchid root rot include:
- bark that has broken down into small, water-holding pieces
- moss packed tightly around the center of the root ball
- a nursery plug left hidden beneath newer medium
- an oversized pot with a large wet center
- an inner pot left standing in water inside a cover pot
- low winter light paired with an unchanged watering schedule
- poor drainage or too few air spaces around the roots
- root damage from salt accumulation or excessive fertilizer
The American Orchid Society also links some root diseases with decomposed medium, poor drainage, and damaged roots in its guide to bulb, stem, and root rots.
If the trouble is not limited to an orchid, compare the setup with our root rot treatment guide. Our guides to when to repot a plant and why leaves develop brown areas can also help you separate a root-zone problem from normal aging or environmental stress.
Orchid Root Rot Decision Tree
Work from the top down. Each answer narrows the rescue and helps you avoid changing five things at once.
1. Is the crown or stem base firm?
- Yes: Continue to the roots.
- No: Isolate the orchid from the rest of your collection. Spreading softness or dark tissue above the roots may be crown, stem, or systemic disease, not a routine repotting problem.
2. Are most visible roots firm?
- Yes: Do not unpot solely because some roots are brown. Check the medium and drying time first.
- No: Unpot and inspect the entire root system.
3. Is the medium still chunky and drying normally?
- Yes: Keep it if there is no odor or active rot. Repeated repotting can damage healthy roots.
- No: Replace it. Old medium cannot be rescued by letting only the surface dry.
4. How many viable roots remain?
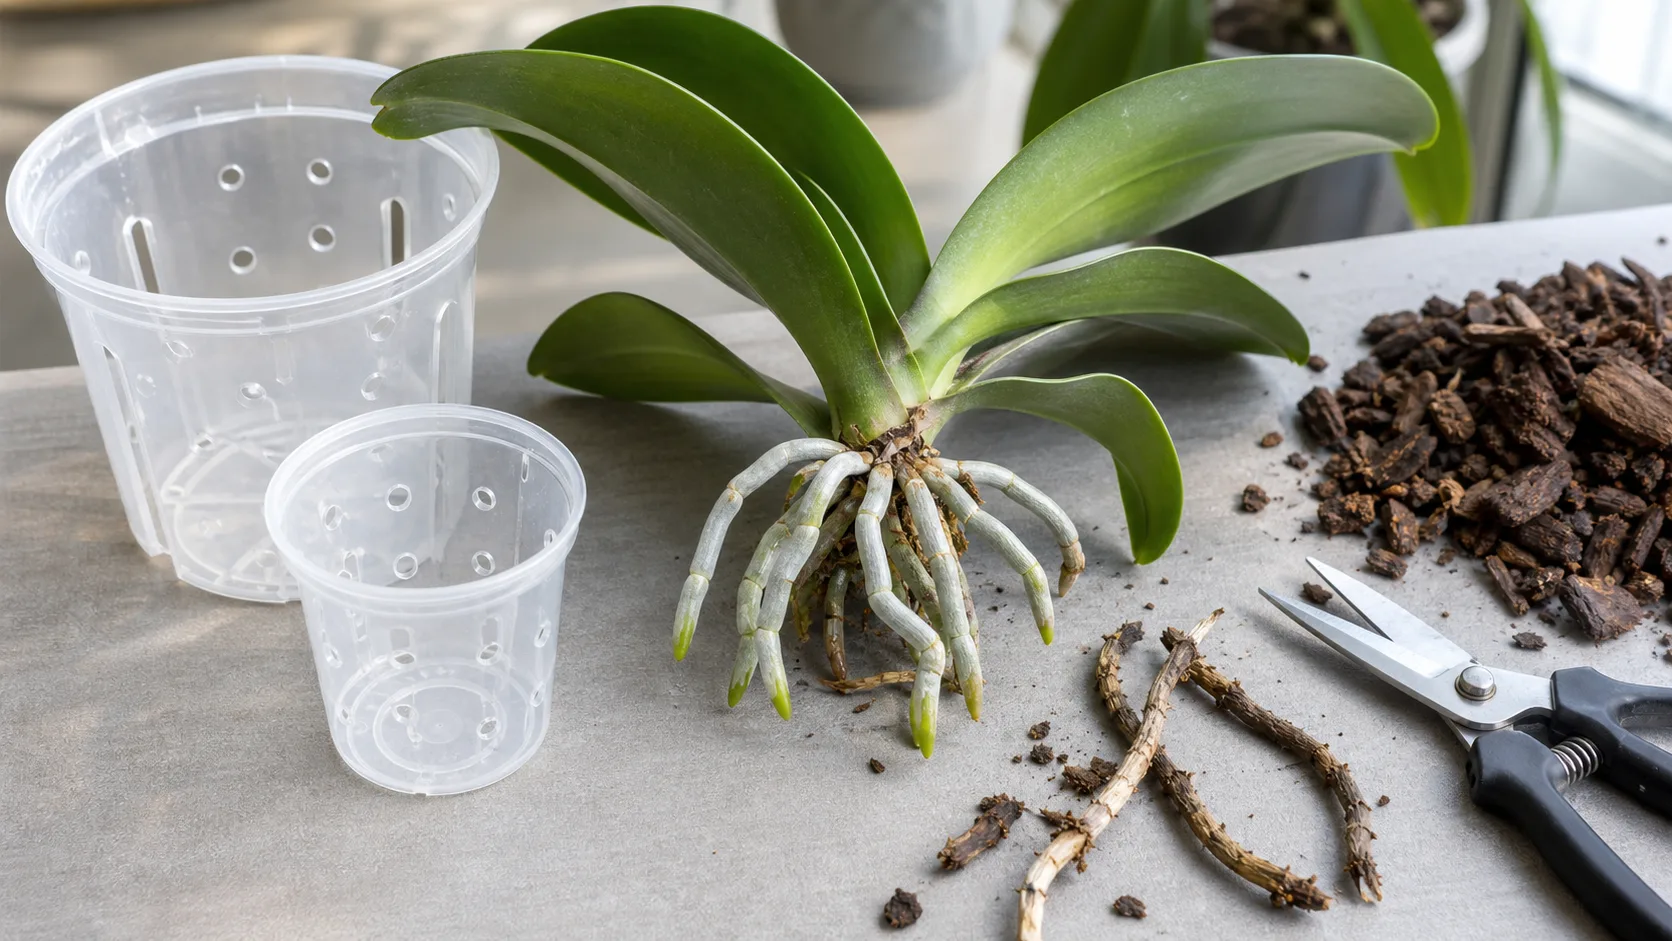
- Several firm roots: Standard rescue and a snug pot are appropriate.
- Two or three firm roots: Preserve every usable section and avoid a large pot.
- One firm root or none: Recovery may still be possible, but the plant needs a careful rehabilitation plan. Ask an experienced local orchid grower or extension service for species-specific help.
5. Are the leaves wrinkled while the medium is damp?
Treat this as possible root loss, not proof that the orchid needs another drink. The goal is to rebuild working roots. Old leaves may stay wrinkled while that happens.
Urgent signs
Isolate the orchid if the crown or stem base is soft, blackening spreads beyond individual roots, tissue collapses rapidly, or mustard-seed-like structures appear on affected tissue. Sterilize the cutting tool between cuts. A named disease may require a product labeled for that pathogen, so do not guess with a general fungicide.
How to Trim Rotted Orchid Roots Conservatively
Gather fresh orchid medium, a clean pot with drainage, a disinfected cutting tool, and a clean work surface. Choose a pot after seeing the remaining roots, not before.
- Remove the inner pot from any cover pot. Empty standing water and note whether the bottom of the nursery pot was submerged.
- Ease the orchid out gently. Flex a plastic pot or cut it away if roots are tightly attached. Saving a root matters more than saving a cheap pot.
- Remove the old medium. Tease bark or moss away with your fingers. Do not pull hard on roots just to make them perfectly clean.
- Inspect one root at a time. Check firmness, the attachment of the outer layer, smell, and whether the tip is active.
- Cut only failed tissue. Follow a mushy or hollow section back until the root is firm. If the entire root is empty, remove it near its origin without injuring the stem.
- Disinfect the tool between suspect cuts. This matters more when decay may extend into the stem or rhizome.
- Recheck the crown and base. They should feel solid. If they do not, pause before treating this as an ordinary root-only rescue.
A brown stain is not a cutting line. Neither is an old cosmetic scar. If you are uncertain and the root is firm, leave it and monitor it.
Before repotting, log how many firm roots remain and whether you found a wet plug, compact moss, or decomposed bark. Those clues should shape the new pot and watering rhythm.
Repot Into a Setup the Remaining Roots Can Use
For many indoor Phalaenopsis orchids, fresh porous bark in a clear plastic pot is a practical reset. Other orchids may need different moisture levels, so adjust the medium to the species and your home. Use the orchid soil guide to compare bark, sphagnum, and blended media before choosing the replacement.
The American Orchid Society’s Phalaenopsis culture sheet recommends a porous mix and says mature plants often need new medium when it begins decomposing, commonly around two years. Its wider range for repotting is every one to three years, depending on growth and medium condition.
Use these rules during the rescue:
- Choose a pot only slightly larger than the remaining root mass.
- Make sure water can leave freely through drainage holes.
- Hold the orchid so the root-stem junction sits at the top of the medium.
- Work bark gently between the roots without forcing or tightly packing it.
- Keep the crown above the medium and out of standing water.
- Place a clear nursery pot inside a decorative pot only if you will empty the outer pot after watering.
Do not reuse the old bark. Even pieces that look acceptable may contain compacted debris and will continue to break down faster than fresh medium.
Reset Watering Without Swinging to the Other Extreme
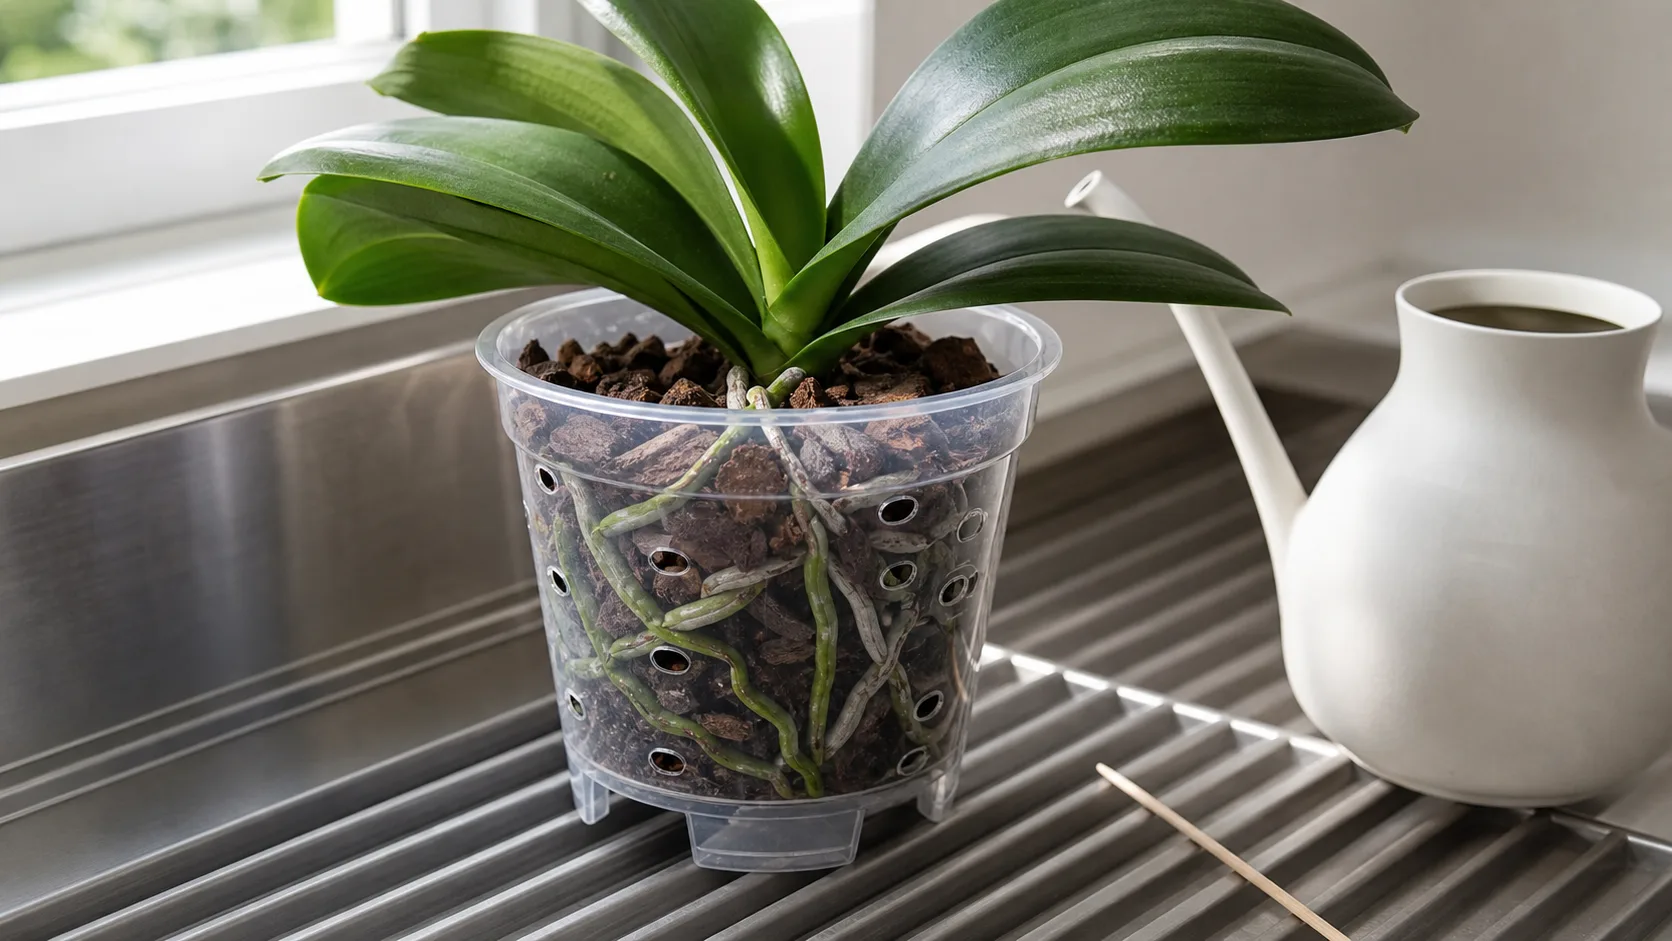
After a frightening overwatering episode, it is easy to leave the orchid dry for weeks. That can stress the surviving roots just as they are trying to establish. The safer reset is thorough watering followed by a real drying check.
“Plants should be thoroughly watered and not watered again until nearly dry.”
American Orchid Society, Phalaenopsis Culture Sheet
Use the remaining root system to choose your level of caution.
| Rescue situation | Watering approach | What to watch |
|---|---|---|
| Many firm roots remain | Water thoroughly, drain completely, then wait until the medium is nearly dry | Pot weight, silver roots, and drying through the center |
| Only a few viable roots remain | Water thoroughly but avoid constant dampness or daily sips | New root tips, stable tissue, and no returning odor |
| Crown or stem disease is suspected | Keep water out of the crown and get diagnosis-specific advice | Spreading discoloration, softness, and rapid decline |
A fixed “every Sunday” schedule cannot respond to a cool week or a darker room. Instead, check:
- Pot weight: a nearly dry pot feels noticeably lighter.
- Visible root color: many Phalaenopsis roots become silver as they dry.
- The center of the medium: the top can feel dry while the middle remains wet.
- Room conditions: warmth, light, and airflow shorten drying time.
According to the American Orchid Society, orchids take up the large majority of their water through their roots, with leaf absorption generally accounting for less than 5 percent. Misting wrinkled leaves cannot replace a functioning root system.
What Recovery Looks Like Week by Week
Root-rot recovery is measured by new growth, not by whether old damage disappears.
The first week
The orchid may look unchanged. A good result is no new mush, no sour smell, and a pot that begins drying at a predictable rate. Keep her in bright indirect light with gentle airflow. Avoid moving her from room to room.
Weeks two to six
Watch the base of the plant and existing roots for fresh green tips. A new tip is a stronger success signal than an old leaf becoming smoother. Continue checking the pot rather than watering by the calendar.
Hold fertilizer if the root system was badly damaged. Once active root or leaf growth is clear, return gradually to the light feeding routine appropriate for your orchid and medium.
The following months
Possible success signals include:
- a new green root tip
- a new leaf emerging from the center
- remaining leaves holding steady instead of worsening
- firm roots staying intact between waterings
- medium that smells clean and dries evenly
Old wrinkled leaves may never become perfectly smooth. Brown root scars will not turn green again. Those are records of past stress, not reliable measures of current failure.
Fresh mush, renewed odor, or spreading stem discoloration means the problem is still active and needs another inspection.
Common Rescue Mistakes and Unsupported Hacks
Cutting every brown root
This removes useful tissue and leaves a weakened orchid with less capacity to recover. Test texture first.
Choosing a pot for the leaves
The leaf span does not determine pot size. Match the pot to the roots that remain.
Reusing broken-down medium
Old bark and dense moss recreate the wet center that started the problem.
Packing new bark tightly
Bark needs air spaces. Pressing it into a solid mass defeats the point of repotting.
Watering little and often
Daily sips keep the root zone damp without flushing the medium properly. Water thoroughly, drain, then reassess dryness.
Moving the orchid into a dark corner
Lower light slows water use and medium drying. Bright indirect light is usually kinder during recovery than a gloomy “resting” spot.
Treating peroxide, cinnamon, or fungicide as a universal cure
None of these fixes compact medium, poor drainage, or an oversized pot. Cinnamon is not a substitute for root triage, and peroxide is not a required step in a routine rescue. The American Orchid Society recommends fungicides for specific diagnosed pathogens, using products labeled for those organisms. Do not apply one blindly to every brown root.
Seasonal Adjustment
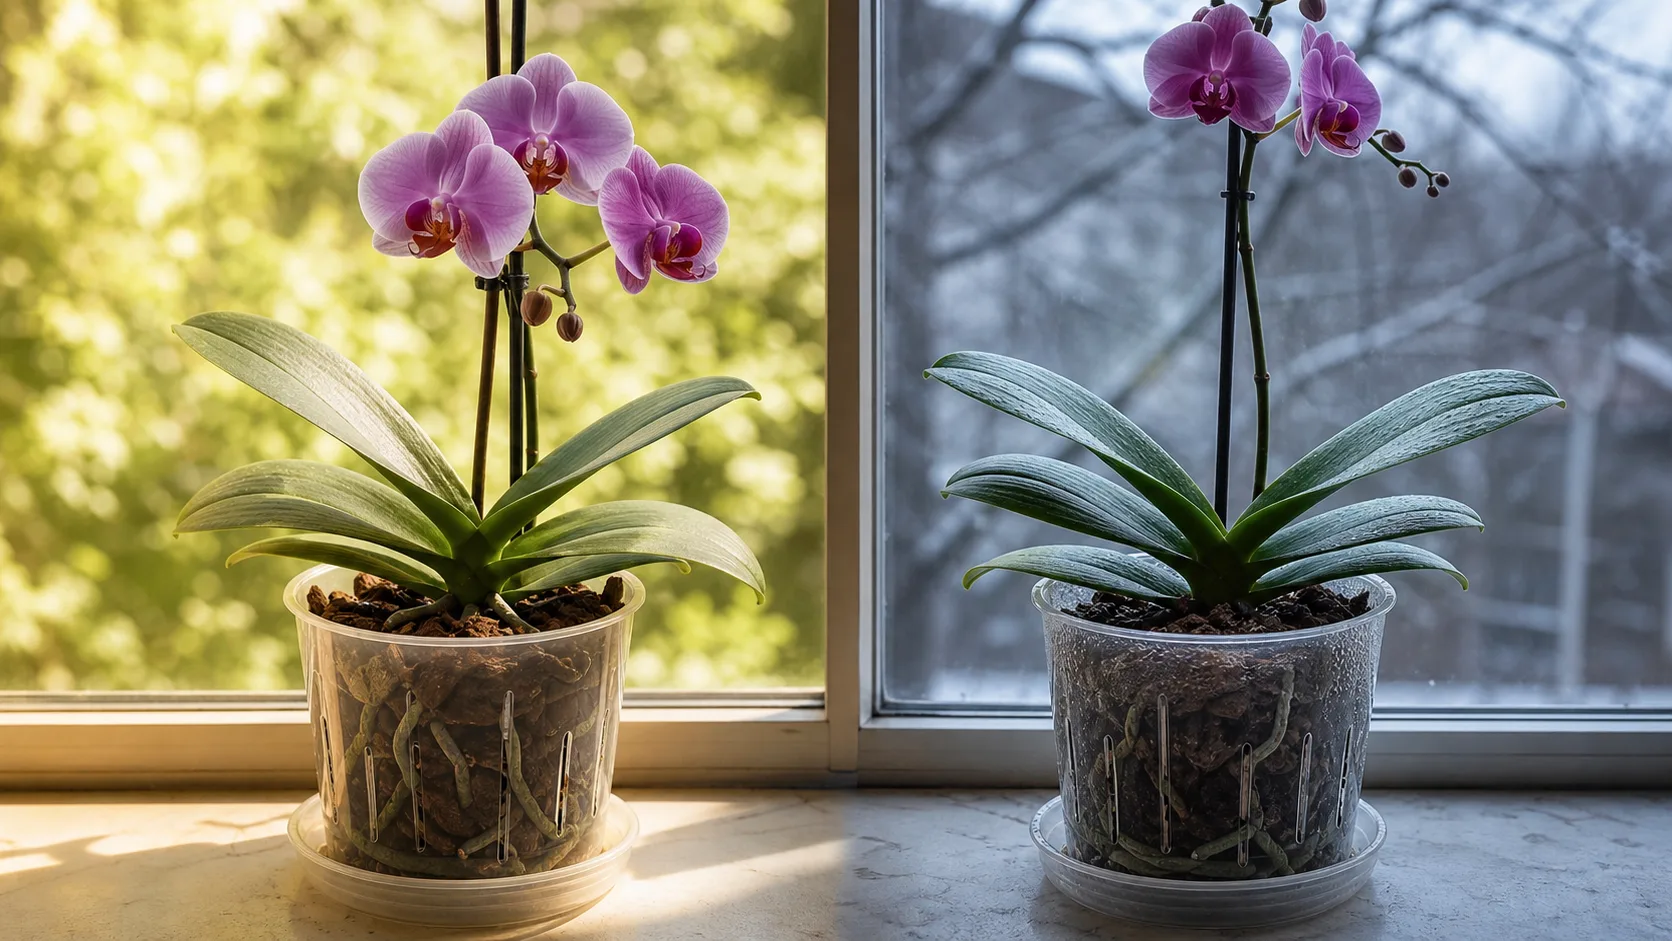
Your orchid’s drying time changes with the room.
During warm, bright periods, check the pot more often because active growth and faster evaporation may shorten the interval between waterings. During cool or dim periods, expect drying to take longer. Keep the same dryness test, but allow the calendar interval to stretch.
The American Orchid Society gives a broad humidity range of 50 to 80 percent for Phalaenopsis, paired with moving air. High humidity without airflow can keep the medium and leaves wet for too long, so humidity should never be treated as a reason to ignore drying time.
Log new root tips, watering dates, and how long the center of the pot stays damp. Download KnowYourPlant for personalized plant care reminders that follow the recovery you can actually see.
Expert Sources and Method
This guide was updated on July 20, 2026. It uses a conservative keep-or-cut framework built from five observable signals: firmness, outer-root condition, internal stringiness, smell, and active tip growth.
Care and disease claims were checked against the American Orchid Society’s current guidance on Phalaenopsis culture, watering, repotting, wrinkled leaves, and root diseases. Search results and accessible public orchid-owner questions were reviewed on July 19, 2026 to identify recurring confusion, but those questions were used only as qualitative direction, not proof of prevalence or treatment success.
The central evidence-supported distinction is simple:
“If the plant has no roots, it cannot take up any water, no matter how much you give it.”
American Orchid Society, Why Are My Orchid’s Leaves Wrinkled and Leathery?
FAQ
How do I know whether brown orchid roots are rotten?
Gently pinch the root in several places. A brown root that remains firm and keeps its outer layer may still function. A rotten root feels mushy, slippery, hollow, or collapses so the covering slides off and leaves a thin thread.
Can an orchid recover from root rot?
Yes, many orchids can recover if the crown or stem remains firm and at least some viable roots survive. An orchid with only one or two healthy roots needs a slower, more cautious rehabilitation, but low root count alone does not make recovery impossible.
Should I cut a damaged root if its tip is still green?
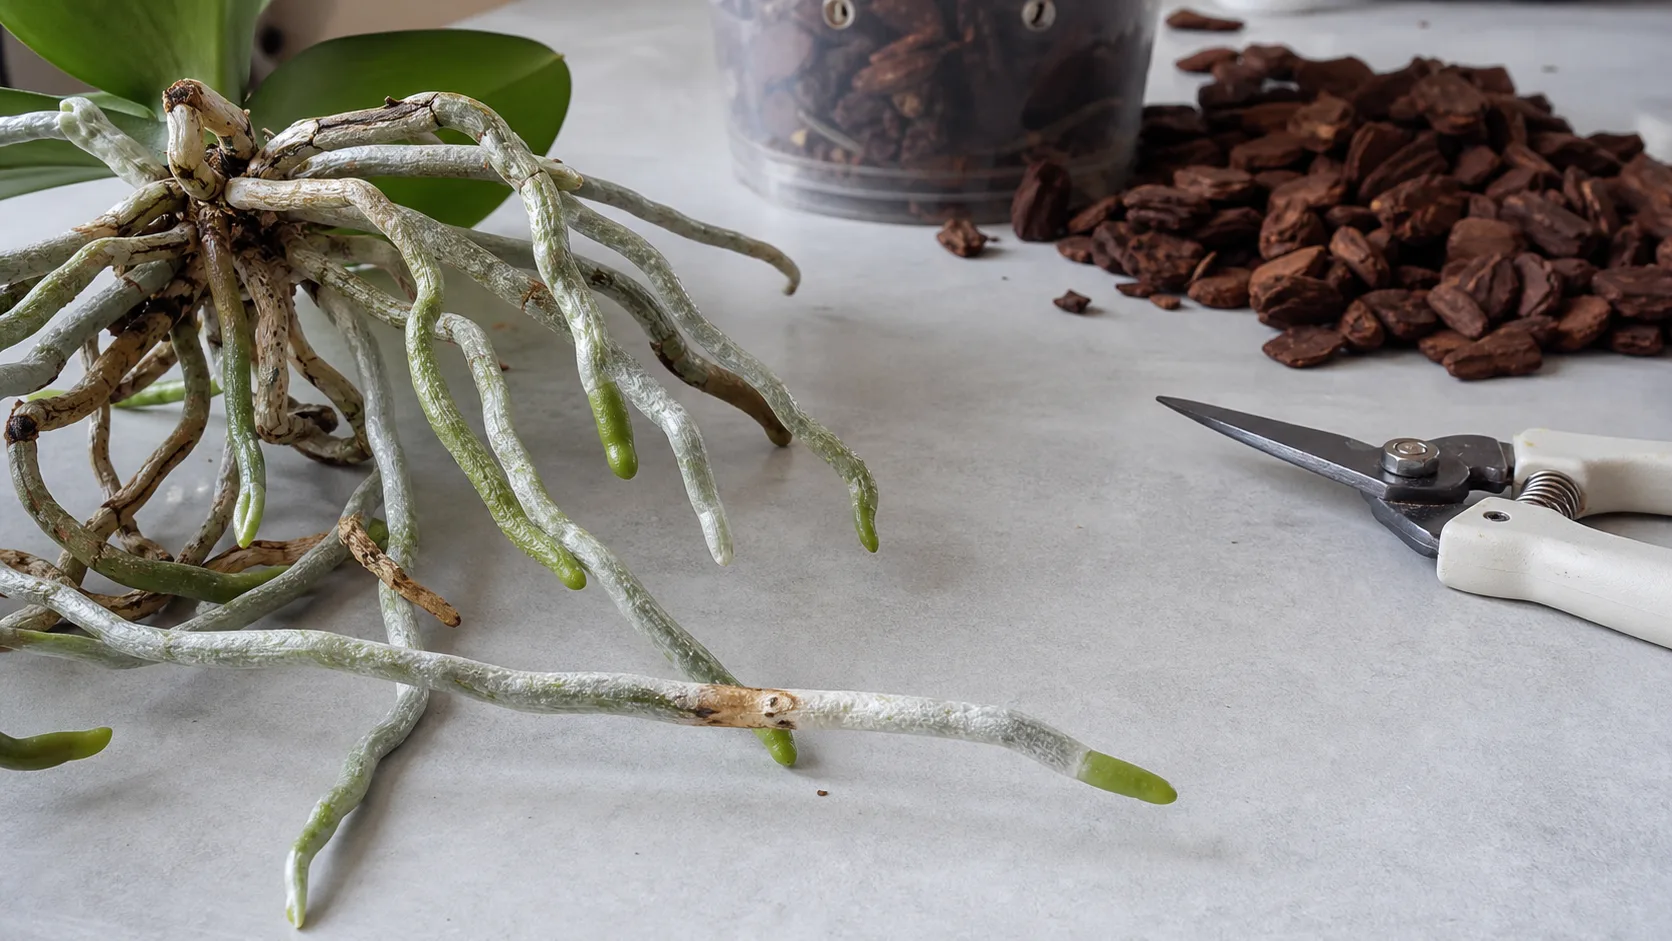
Not automatically. A green growing tip is a reason to inspect the root carefully and preserve every firm section. Remove only tissue that is clearly mushy, hollow, or structurally failed. If the damage is isolated and the rest remains firm, make the smallest safe cut.
Should I water immediately after repotting?
For a routine Phalaenopsis rescue with clean root-only trimming, water thoroughly and let the pot drain, then wait until the medium approaches dryness before watering again. Extensive cuts, stem disease, or a different orchid type may require species-specific advice.
Why are the leaves wrinkled when the bark is wet?
Damaged roots cannot move enough water into the leaves, so the orchid can look dehydrated while sitting in damp medium. More frequent watering may worsen the damage. Inspect the roots and correct the wet setup first, then use the orchid wrinkled leaves guide to track the symptom during recovery.
What medium should I use after orchid root rot?
Many indoor Phalaenopsis orchids do well in fresh porous bark. Use a texture that balances your home and watering habits. Choose coarser, faster-drying material if your conditions stay wet, and never pack the medium tightly around the roots.
How long does orchid root rot recovery take?
Expect weeks to months rather than days. The first success is stability: no new mush, odor, or spreading discoloration. New green root tips and new leaves are the clearest signs that recovery is moving forward.
Do I need peroxide, cinnamon, or fungicide?
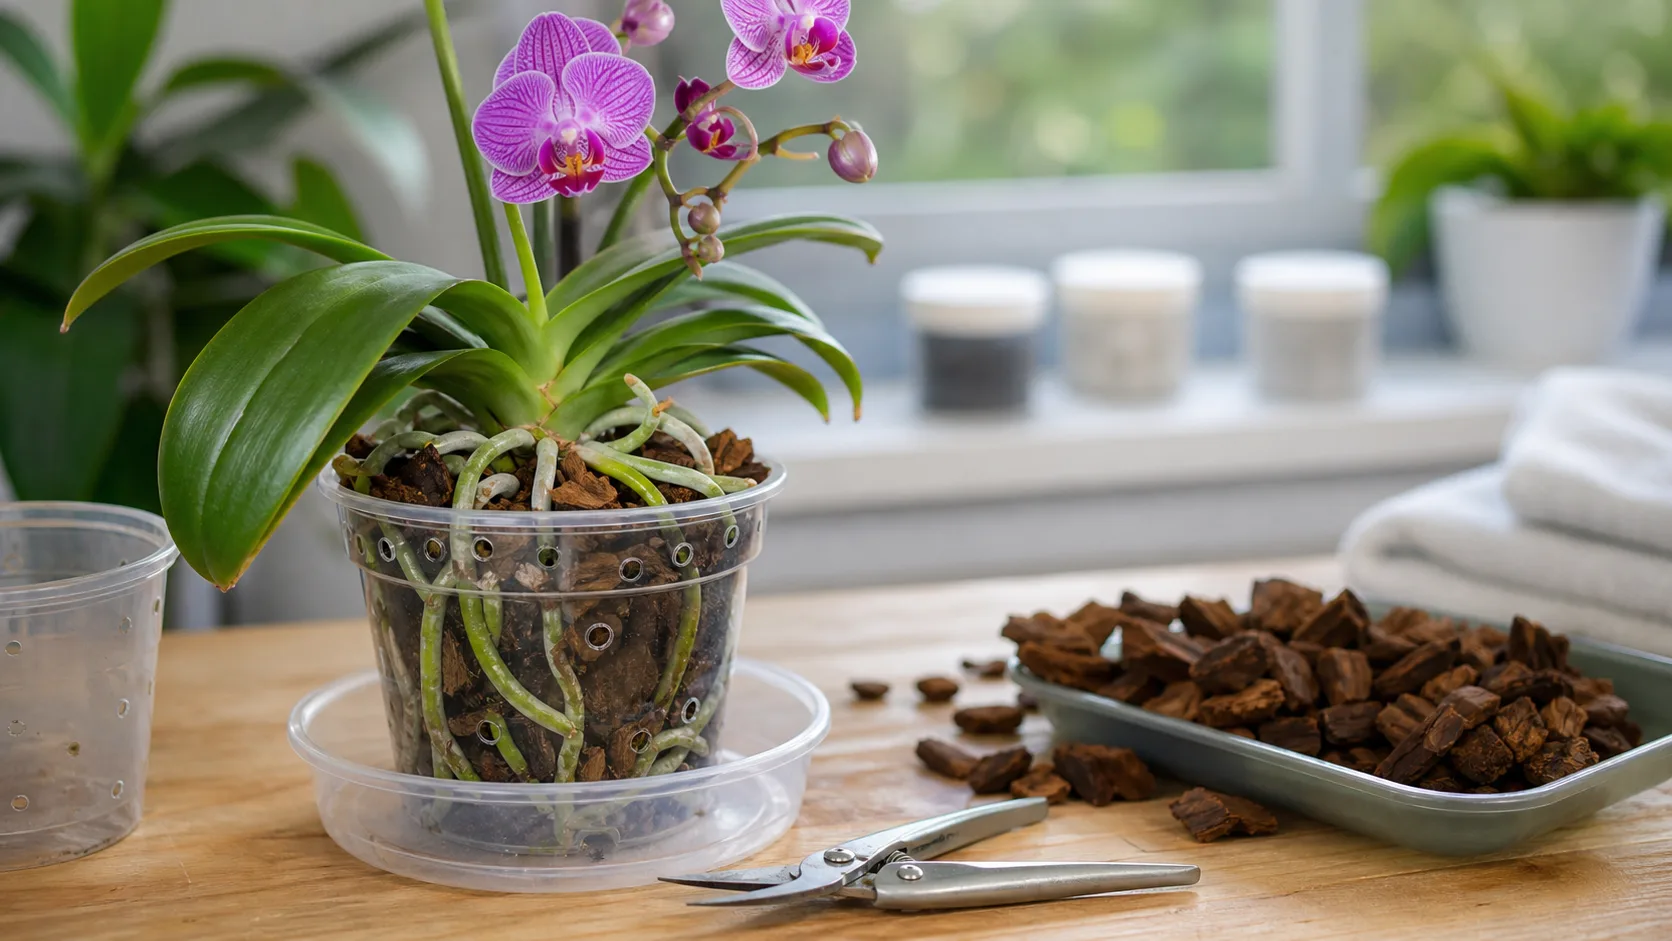
Not for every rescue. Start by removing failed roots, replacing broken-down medium, improving drainage, and resetting watering. A fungicide should be chosen only for a suspected or confirmed pathogen listed on the product label. No treatment compensates for roots left in soggy medium.